‘Taste of the Tropics’ Smoothie

IMG_8739

Have you ever had that banana-strawberry-orange juice that Dole makes?  Or the pineapple-mango juice?  They are unbelievably delicious!

Now imagine that you could have it for breakfast, that it would still be as delicious and nutritious and that it would fill you up…

that’s the beauty of this smoothie.

It’s not something you have to force yourself to like because you know it’s good for you and your New Year’s resolutions involve a smoothie a day forever.

You will crave one of these for breakfast…try for yourself!

IMG_8725

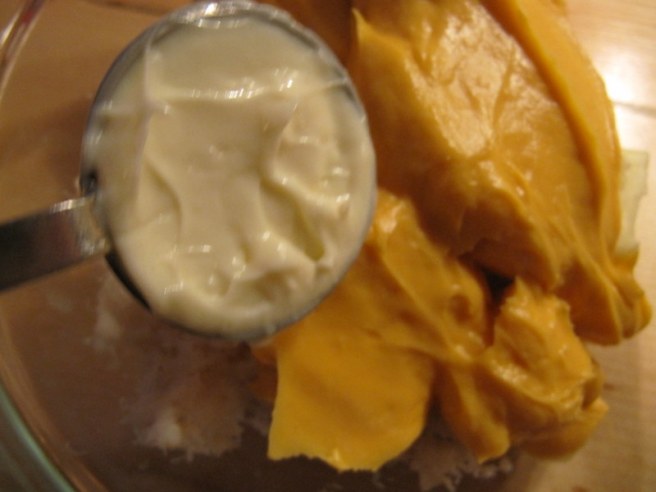
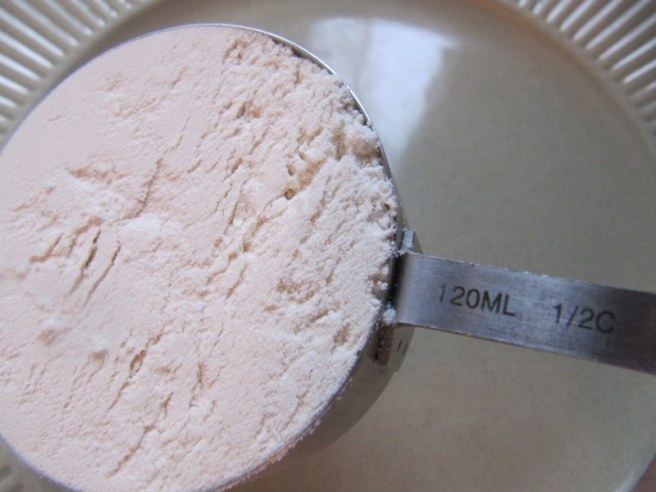
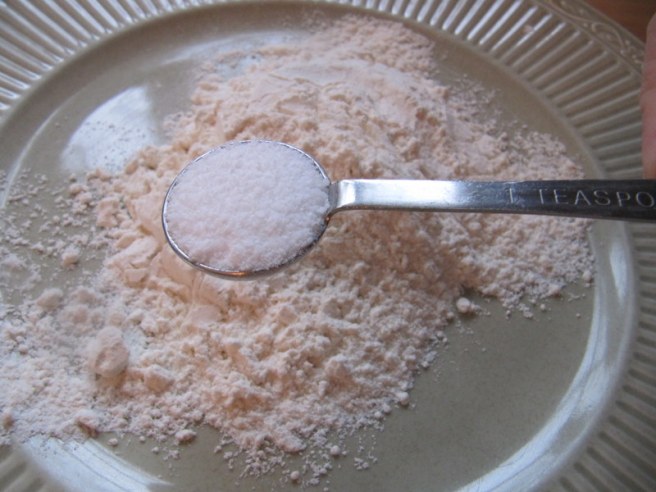
Start with about 3/4 cup of plain yogurt in a blender.  This is lowfat and is not Greek, but whatever plain yogurt you have in your fridge will work just fine!

IMG_8727

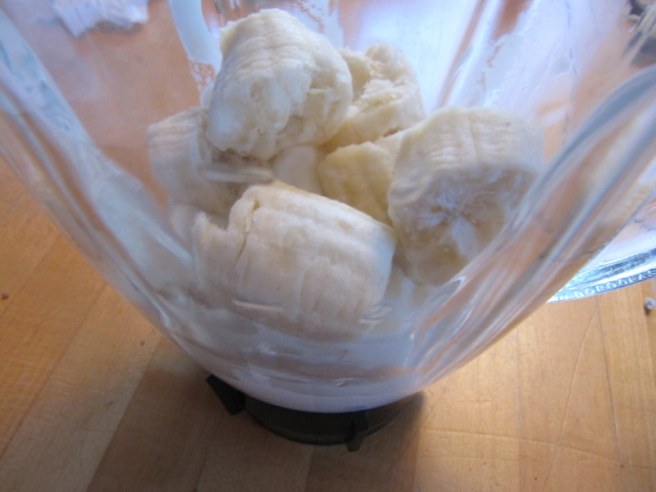
Add one banana, broken up into chunks, into the blender with the yogurt.

IMG_8728

Then grab one clementine (or Halo, or Cutie or tangerine or 1/2 of an orange),

IMG_8729

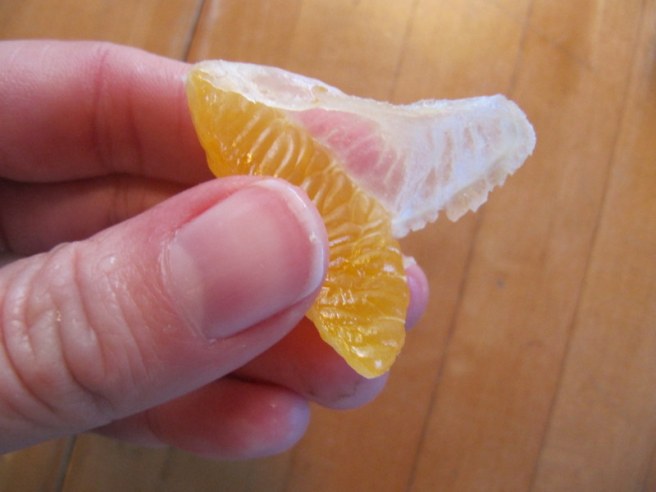
remove the connective membrane (either by hand or with a paring knife),

IMG_8730

and add all the freed segments into the blender.

IMG_8731

Some frozen fruit is key here.  The frozen element is what makes the smoothie frothy and gives it a milkshake feel, vs a yogurt feel, in your mouth.  Add 3-4 frozen strawberries,

IMG_8732

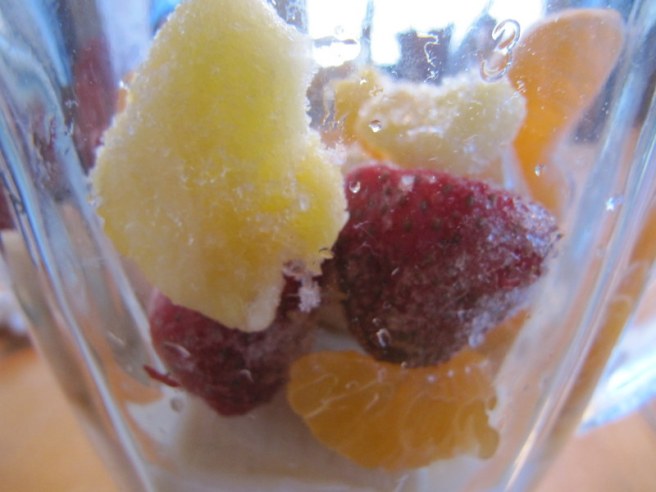
some frozen chunks of pineapple (maybe 1/4 cup worth), and

IMG_8733

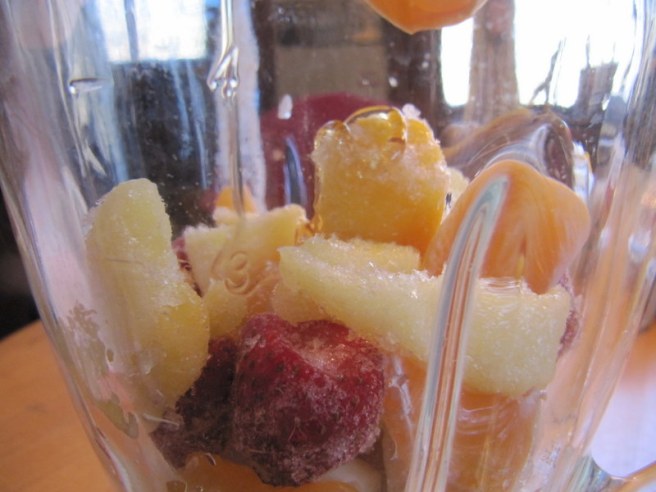
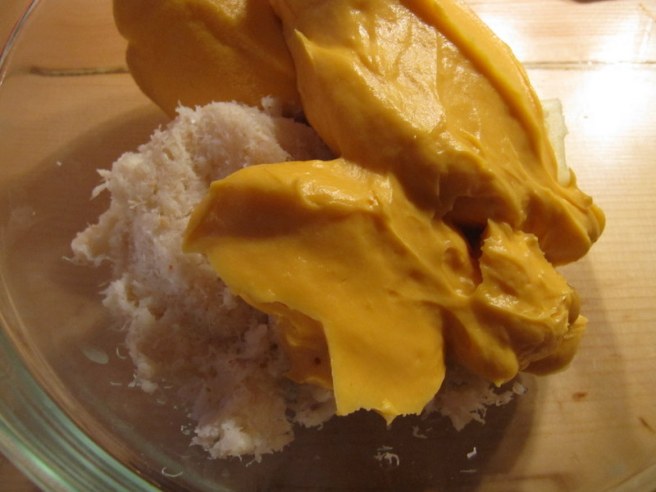
one or two large pieces of mango.  Can you tell what’s hanging down on the top of the picture?  The last ingredient that takes this smoothie from great to extraordinary?

IMG_8735

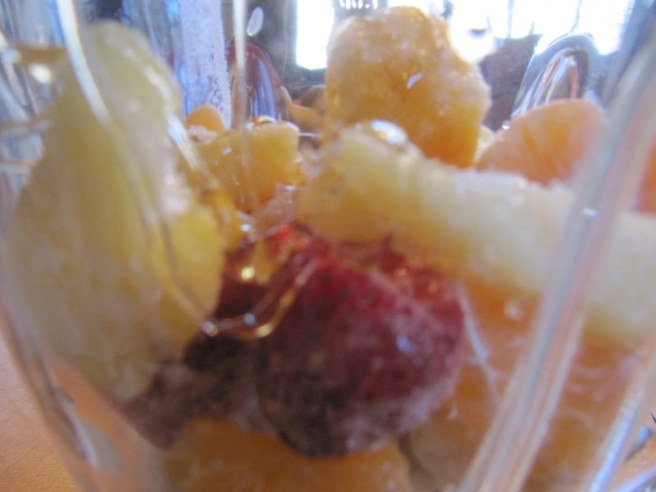
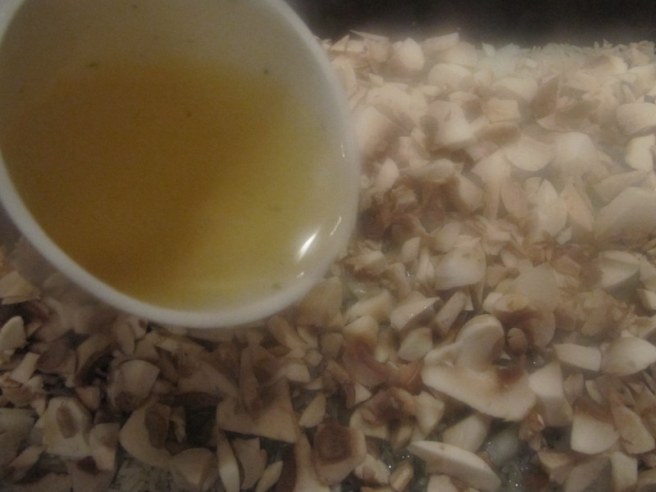
See it all drizzled over the fruit?  The nectar of the Gods?!

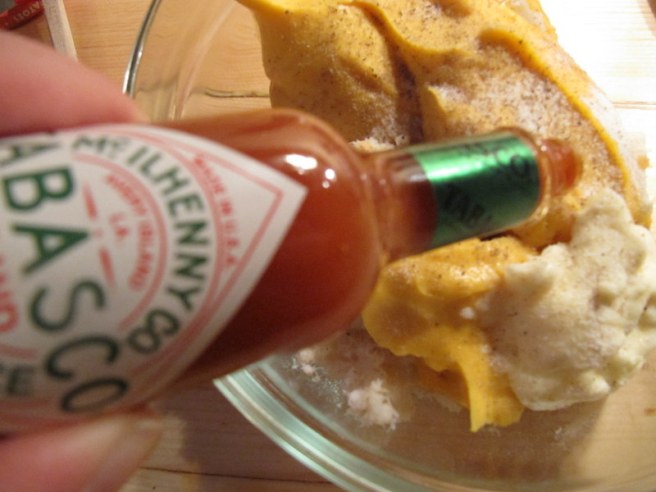
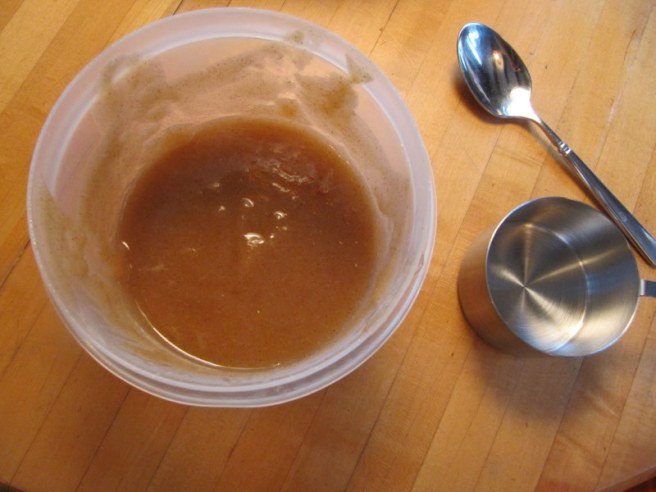
Oh yes…squeeze some honey on top of that superb fruit combination.  Don’t be frugal now.  A liberal amount is required.   You should be able to see it touching all the tops of the fruit when you look down into the blender.

And now give it one extra squeeze, just to make sure you’ve got enough…Perfect!

IMG_8736

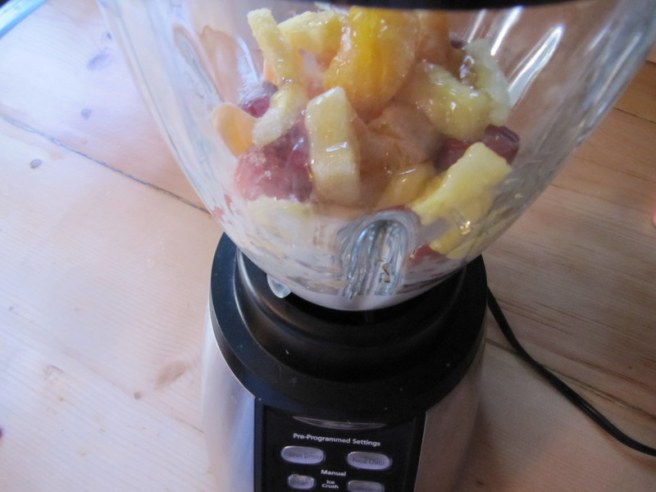
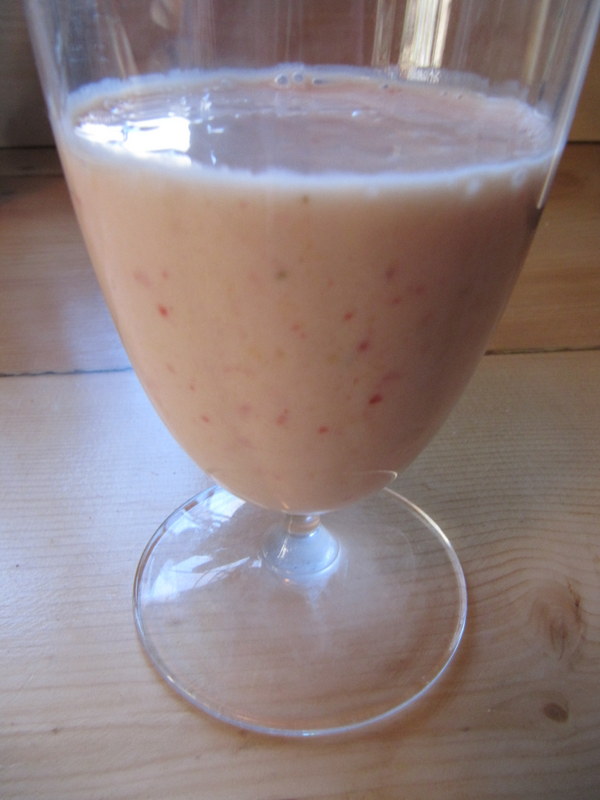
Blend this on high until you stop seeing large chunks of fruit whizzing by and can see strawberry seeds speckling the blender!

IMG_8737

You’ll feel as though you’re on a tropical island when you take the first sip…mmmmm….

Bon Appétit, Ma Cherie!

Crab Corners

IMG_8716

Oh my goodness these are good!

I grew up eating these, and loving them.  My Mom would make batches of them, cut them into quarters and freeze them.  Then if we had unexpected guests or if she was just looking for a quick-fix appetizer, she’d throw them on a sheet pan, frozen and bake them till they were as beautiful as you see here.

Wait until you try them!

IMG_8713

You will need 4 English muffins, split apart, (with your fingers, not a knife…see post from Oct 29th called Nooks and Crannies!).  Lightly toast them and set aside.

IMG_8704

Yup.  I’m using this product.  No apologies.  This app rocks.

IMG_8703

And a stick of softened butter.  Again, I’m not sorry…I’m just excited for you to try it!

IMG_8705

and a can of white crab meat (about 7 ounces)…yummmmmmmm….


IMG_8706

Let’s cook!  In a large bowl, combine softened butter, crab meat,

IMG_8707

the entire contents of that magic little jar of Cheez Whiz,

IMG_8708

2 tablespoons of mayonnaise,

IMG_8709

1 teaspoon garlic salt,

IMG_8710

about 1/2 teaspoon freshly ground black pepper,

IMG_8711

and several dashes of tabasco.  I used about 10 dashes and you cannot even feel any heat, just a nice tangy flavor.  And mix well.

IMG_8714

Evenly divide the mixture on 8 muffin halves and spread.  Crust to crust is a must!

Cut each muffin into fourths, little wedges.


And now you have two options:

  1. Prepare now, to eat right away.  Place on cookie sheet in a 425 degree oven for 15-20 minutes, until edges are golden brown and english muffin is toasted.   OR….
  2. Place wedges on cookie sheet in the freezer.  When frozen, store in baggies in freezer until ready to use.  Then place on cookie sheet and bake 10 minutes in 425 degree oven.

IMG_8715

Serve hot.

Serves 8.  Serves 8 very happy, very happy people!

Bon Appétit, Ma Chérie!

Stinky Jeans + Me = 4EVA

denim-220484_640

If your jeans are standing up by themselves in the corner of your room, looking as though they’re displayed on a mannequin bottom half, you are doing it right.

jeans-43347_640

Don’t wash your jeans!

Don’t do it!

Yeah, right.  Like I’m not going to wash my jeans!  That’s soooo disgusting.

Listen, you know how long it takes to find that perfect pair of jeans?

You’ve got a couple pairs of jeans, at least, right?  Ones for outdoor recreation, ones for a night on the town, ones for a cozy day at home, etc.  And you love all of them, but probably have a favorite pair or 2, am I right?

And maybe they’re starting to get threadbare in the knees or the inner thigh or under your bottom?

jeans-828693_640

And you’ve gone out to do some preliminary jean shopping and are freaking out because you can’t find that same style of jean or color that you like or brand that fits you as well as your old ones.

Well, here are 2 tips to make those jeans that make your butt look great last a looooong time:

# 1. Don’t wash them.  Do not wash them. Do not put them through your washing machine cycle and then in the dryer.  They will fade.  And they will become threadbare.  And they may last you 2 years, at most.

Well, hello, they’re going to get dirty.  What am I supposed to do, ignore the filth, you may ask?

No.

Spot clean:

Use Dawn liquid soap to remove a grease stain or red wine or tomato sauce, etc.  Carry those Tide or Shout stain remover wipes in your purse for “emergencies”.


jeans-936684_640

Clean the dirty area as soon as you can with soap and water and air dry your jeans.

and…

# 2. wash them inside out, with cold water and do NOT dry them in the dryer.

If you find that you absolutely must put your jeans in the washing machine, let’s say you rolled around in cow patties all day, then please, please, please turn them inside out.  This will help maintain the “wash” (color) and prevent them from fading.  As will the cold water, as heat is damaging to dark-colored clothing.  Therefore, make sure that you do NOT put them in the dryer!

jeans-564061_640

So, the moral of the story is…wear stinky jeans, 4eva!

Do what you have to to keep them clean without ever putting them in the washing machine…spot clean them…

And as far as the smell goes?   Well, try spraying them with perfume, or sticking  a flower in the belt loop…

The point is to look good, right?  Whoever said anything about smelling good?!

Homemade Iced Tea (the Mexican way!)

IMG_8681

My junior year of college I spent a semester exchange at the University of Texas in San Antonio.  Some of the best memories of my life were made there.  And some of my best friends, to this day, were made there too.

But, I’ve got to tell you, I thought I loved Mexican food before I went there, but this little French girl didn’t even know what real Mexican food was!

My experience living with Mexican roommates and my best friends in the world being Mexican opened my eyes and expanded my palate.

And I’ve never been the same.

I crave Mexican food all the time.  Almost as much as I crave sweets.  Or chocolate.  Or French food.  Or…well, I just love food.  But, Mexican food has got a special spot in my heart…

One of the things I remember vividly about living closely and visiting with so many Mexican families was their beverages.  Not of the alcoholic variety, although those were fun too!

No, I remember the iced tea served at every home, and at every Mexican restaurant with all the meals.  It was so unbelievably delicious.  And a perfect paring with the salsas and guacamole and chiles and tortillas, etc, etc.  Refreshing, sweet and homemade.

Nothing beats it and actually nothing even comes close.  And I have done many a taste test.  I have spent oodles of money trying different cans and bottles of ice tea; from Arizona ice tea, to their sweet tea, to Snapple’s, to Lipton’s, to Honest Tea, Tazo, Pure Leaf, Nestea, etc.  None compare.  None.

Here is the super secret recipe for Iced Tea, the Mexican way.  You can send me smooches once you’ve finished inhaling that first cold tall glass of it…

IMG_8667

Ok, you will need a 2 quart pitcher to start with.

Here’s the one that resides in our fridge full time.  And if you look closely enough in the pictures you’ll be able to see that it is permanently stained with tea…

but that’s how we roll here…we have always 2 quarts of fresh-brewed iced tea at our house.  It’s a staple.

IMG_8668

Next fill a large measuring cup to almost the top, with cold tap water.

Heat it in the microwave for at least 10 minutes, or fill a tea kettle and bring it to a boil that way.

IMG_8669

Get yourself a box of Red Rose tea bags.

IMG_8670

Grab 3, hand them over the edge of the pitcher, and pour in the boiling water…

IMG_8673

Allow to steep for at least 15 minutes…

IMG_8675

till it turns a nice auburn color and the lovely smell of fresh brewed tea starts to waft under your nose.

IMG_8676

Add 1 cup of white sugar.  Don’t skimp…it won’t taste right, I promise.

IMG_8677

Stir with long wooden spoon, until all the sugar is dissolved,

IMG_8679

Place the lid on the pitcher, with the tea bags still inside, and place in the refrigerator.  Allow 24 hours to steep, at least, before removing the tea bags.  (I’ve left them in there for 3 days and they just made the tea better with each passing day!)

IMG_8680

Serve ice cold; meaning, after it’s been refrigerated at least a day.  You want to avoid putting this on ice, or it will completely dilute the flavor.

The Mexican households I frequented usually served this with a wedge of lime, but you can use lemon, or it’s perfect completely on its own!

Bon Appétit, Ma Chérie!


One Pan Chicken Rice Dinner

IMG_8512

Dubbed “All Day Chicken” by my husband because he said that he spent all day the next day thinking about it and excited for the leftovers!

This one is simple to make, bakes all together in one pan and is just delicious!

IMG_8485

You’ll start with 1/2 cup of all purpose flour on a large plate.

IMG_8486

To that you will add 1 teaspoon salt,

IMG_8488

and 1/2 teaspoon freshly ground black pepper,

IMG_8489

combine,

IMG_8490

and use tongs to coat each piece of chicken,

IMG_8492

until all 10 chicken thighs are perfectly coated (ok, perfect by my standards.  Not sure if I would win a prize on uniformity, but I did try to get every nook and cranny coated!)

IMG_8493

Add 3 tablespoons vegetable oil to a large, hot pan over medium heat.

IMG_8494

Add the chicken, about 3 pieces at a time, so as not to crowd the pan and end up with unevenly cooked meat.

IMG_8495

Your sole objective here is to brown the chicken.

IMG_8496

The rest of the cooking process will occur in the oven!

IMG_8498

Next take 1 cup of uncooked long grain rice and sprinkle on the bottom of an ungreased
13 x 9 x 2 in baking dish.

IMG_8502

Chop half of a medium onion, about 1/4 cup.

IMG_8503

Sprinkle on top of rice.

IMG_8499

Sprinkle 1 teaspoon garlic powder and 1 teaspoon salt over the onions and

IMG_8504

top with about 10-12 ounces of chopped fresh mushrooms.

IMG_8505

Add 2 cups chicken broth to the dish,

IMG_8506

so that everything appears to be sitting in it.

IMG_8507

Take a bag of frozen peas,

IMG_8509

and break it up as best you can as you use it to cover up the mushrooms in the dish.  Don’t worry about chunks of icy-stuck-together peas.  They all end up redistributing beautifully during the cooking process!

IMG_8510

Place chicken pieces on top.

IMG_8511

Cover with foil and bake at 350 degrees for 1 hour,

IMG_8512

or until the chicken is cooked through and the rice is tender.  Sprinkle with parsley, and take a giant bite!

Serves 5.

Bon Appétit, Ma Chérie!

Winter is Here – Are you SAD?

IMG_1027

Winter is here!

Yeah!  The ice skating, the hot cocoa, the cozy sweaters and fuzzy socks, sitting by the fire with a book, finally getting to your indoor projects, all the yummy comfort food simmering on the stove, the forgiving blanket of snow that covers all the imperfections of your back lawn, the breathtaking red flashes of the cardinals against the snowy white backdrop of our yard, my husband’s giant beard, my Beach Rose’s rosy cheeks and infectious excitement about building a snowman or sledding, slippers, Downton Abbey, Game of Thrones…

There are those of us who view winter as all of the above and as a reprieve from the packed schedules of spring summer and fall, and those for whom the snow and ice and cold are a playground:  for the children, the outdoorsman, the avid skier, the snowmobilers, etc.

Yet, for some it brings about the doldrums.

The winter doldrums are the depression, melancholy and gloom that you may feel when you find yourself in the heart of winter, when the holidays are over, but the quantity of holiday eating remains (and the poundage increases), the days are short and dark and cold and you find it hard to get out of bed in the morning.

A more severe form of this melancholy is called SAD or Seasonal Affective Disorder.

Although there are many effective ways to combat SAD, for some it is best to seek out the professional advice of your doctor and/or a therapist, who may recommend pharmaceutical assistance.

However, if you’ve noticed that you may find yourself down in the dumps once in a while during the winter months or nearing the end of the long winter, hang in there and try some of these organic methods of picking yourself up by the bootstraps!

  1. Eat a ton of seafood and grass-finished beef.  A ton!  Both of these proteins fight off depression because they are rich in omega-3 fatty acids.  In some studies they’ve shown that omega-3s can actually be more effective than antidepressant medications.
  2. Get outside.  2 reasons for this:  you’re getting fresh air and you’ll be getting some natural sunlight.  Especially in morning.  Doing this will trick your body clock to stay on its springtime schedule and will help elevate your mood.
  3. Start sniffing citrus!  Sniff that fresh squeezed orange juice.  Stick your nose in your child’s grapefruit.  Grow a lemon tree in your kitchen.  Don’t ignore the lime in your gin and tonic…be the odd duck that takes it out of their glass and inhales it!  Citrus has been shown to reduce stress and anxiety.  Soooooo… stock up on the citrus-scented candles in the fall and fight off the winter blues by setting up an orange grove in your home!
  4. Go away!  I’m not telling you to scram, I promise.  I mean, get out of town, literally.  Doesn’t have to be a tropical island, though this of course, cures everything. Even if you plan a day trip to a museum, a town you’ve been meaning to visit, an overnight trip with your loved one(s), any of these outings will give you something to look forward to and lift your spirits!

Combat those winter blues and blahs with a few of these pick-me-ups and before you know it you’ll see that first beautiful robin, hop-hopping on the ground, and you will be too!

Baby Got Back?

IMG_0354

Back to sleep…

Back is best…

Onesies with the message “This side up” printed on the front…

Safe to Sleep and Back-to-Sleep are very real campaigns that were started to educate parents on the importance of putting your babies in the supine position (on their back) at the beginning of every nap or sleep, to reduce the risk of SIDS (Sudden Infant Death Syndrome).

This is a very serious concern and no laughing matter.

As a matter of fact, my husband and I didn’t sleep for the 1st two years of my daughter’s life, in fear that while we did, something would happen to her.  We’d nudge each other multiple times a night to run into the other room to make sure she was sleeping and still breathing.  Who am I kidding?  I still check to make sure she’s breathing now when she sleeps.

However…

the very funny reality of placing your baby on its back every time you put them down to sleep is that they can end up wearing away the hair on the sides and in the back of their head –

not all of it, mind you, just a comical band of missing hair,

IMG_3340


and end up with a flat head!


Screen Shot 2016-01-14 at 7.31.47 PM

There is a way to avoid the balding-old-man-who’s-been-hit-in-the-back-of-the-head-with-a-frying-pan look…

and I only learned of this because a very astute and hilarious student during our prenatal classes asked our instructor how to avoid having his baby look like his neighbor’s, who apparently looked like he’d been sleeping on a flat board since the day he’d been born!

So,

  1.  Make sure you have a mobile over the crib.  This will interest your baby and they will move their head from the position in which you laid them down, so that they can get a better look at it.
  2. Keep rotating the direction in which you put them to sleep in the crib…feet to the left of the crib, feet to the right of the crib, so that they keep moving their head in different directions to look at their mobile. This will “round out” their heads, as they will be spending equal amounts of time lying on either side of their little heads!
  3. Super-important…tummy time!  Follow your doctor’s instructions on how often and for how long, as it may be different than when I was instructed.  But, if you aren’t sure, have your infant spend a minimum of 1 hour per day on their tummy.  Do this in 15 minute increments, as this is considered “exercise” for the baby (it’s a lot of work for them to try to hold themselves up on their forearms, and for their necks!) and wears them out.  I would usually do this after she ate and then get her ready for her nap.

and here’s a little more info on avoiding flat head syndrome

Table for….One?

Every time I walk up to the hostess stand in a restaurant by myself, I cause panic and evoke pity and confusion.

I get that inquisitive look, the furtive glance in all directions, desperately hoping that if they just look past my shoulder long and hard enough someone might magically appear to join me,

and then the hesitantly-posed question…

“Table for………………(long pause)……………one?”

dinner-table-444434_640

Try it, you’ll not only like it, you’ll looooooove it!

Once a month I go out to dinner by myself.  I belong to a Quilt Guild (fancy word for “club”!) that meets every 2nd Tuesday night of the month, at 7 pm, and my darling husband tries his best to get home as early as possible and insists I go out, run some errands and go out to dinner before my meeting.

It’s heavenly.  It’s my night.  It’s my time. I do a little shopping…usually for those not-so-glamorous items like Windex and paper towels, but it’s done at my pace.  And I find that I can run in and out of 3-5 stores within the span of an hour when I’m alone.

(It’s a completely different story when you’re unbuckling a 4 year old from her car seat, finding a shopping cart to put her in, racking your brain for creative ways to avoid the inevitable meltdown because you’re 30 minutes from home and she usually eats lunch now…You know.)

The shopping part of the evening is great because I cross things off my list.

But the dinner…ah, the dinner…that is all for me…

I go to a local Mexican restaurant because I love Mexican food and my hubby likes it ok but would never go to a restaurant to eat it.  I sit at a small table tucked away from the hubbub.  I order a Pacifico beer with a lime.  The waiter/ress brings me a bowl of chips and a bowl of salsa.  I take my book out of my purse.  I take my cheater eyeglasses out of my purse.  I turn to the page in the my book where I left off.  I get transported to another time and place and feel everything melt away…

You need to try it.  Whether you bring a book, a magazine or your phone so you can surf the net, it is so rewarding to be alone, with your thoughts or away from your thoughts, at your leisure, with no demands on time, attention, or you!

Do not be afraid!  It is not odd to eat alone.  When I was in college I spent many years supplementing my college loans with money from waitressing jobs.  I saw many a person come in to a restaurant and ask for a table for one.    And I always found my conversations with them to be most interesting.

Someone eating alone doesn’t automatically mean that they have a sad story.  That nobody wants to be with them.  That they don’t want to be with anyone.  That they have no friends or loved ones….

Most likely they’re surrounded 24-7 and are just itching for some reprieve!


Flaky, Foolproof French Pie Crust

IMG_7800

Flaky, foolproof French pie crust…alliteration at its finest!

The French in the kitchen are like the Elves in Santa’s workshop – magic happens and the finished product is always maginifique!

Their pie crust is no exception.  It is always delicate and a fine balance between sweet and salty and flakes beautifully.  I’ve always wondered at the secret behind the perfection of it…

And have finally gotten my hands on the recipe!

The only reason it isn’t French bakery quality is because I’m the one making it!  Practice makes perfect and I’m sure that once I’ve made at least one thousand pies, I’ll be able to finally boast about my pie crust.

However, let me tell you that this pie crust will knock your sox off and those of your family, friends & guests, too!

IMG_8572

Blend 2 1/2 cups all purpose flour,

IMG_8574

2 tablespoons (packed) golden brown sugar,

IMG_8575

and 3/4 teaspoon of salt in food processor for about 20 seconds.

IMG_8576

You’ll need 10 tablespoons (1 1/4 sticks) chilled unsalted butter, cut into 1/2-inch cubes,

IMG_8577

and 5 tablespoons frozen solid vegetable shortening, cut into 1/2-inch cubes.

IMG_8578

Add butter and shortening to food processor;

IMG_8579

using on/off turns, process until the mixture resembles coarse meal.

IMG_8580

Transfer “coarse meal” to large bowl and add 8 tablespoons freezing cold water.

IMG_8581

Mix with your hand until moist clumps form.

IMG_8582

Gather dough together into two equal parts,

IMG_8583

and form each part into a ball.  If it’s crumbly and you can’t stick all the pieces to the ball, you’ve done it right!

IMG_8584

Wrap each ball in plastic wrap and

IMG_8586

flatten with the palm of your hand,

IMG_8585

to form a disk.

IMG_8587

Refrigerate the disks for one hour before using.  Or freeze for up to 6 months, as long as it’s tightly wrapped in heavy-duty aluminum foil or freezer-weight plastic wrap and sealed in a freezer bag.

And that’s it, folks!  This here is the greatest pie dough recipe you’ll find…try for yourself!

And here are a few more tips to make working with pie crust easier and more successful for you…

  • Roll out the dough on a floured surface and use a floured rolling pin.

IMG_7796

  • Measure it.  You’ll want about 2 inches extra than what the recipe calls for, so that you can tuck it in.  So here, the recipe called for a 9 inch pie crust and I rolled it out to 11 inches.

IMG_7797

  • To remove it from the floured surface without sticking or tearing, I’ve found that using the flat disk from a pie pan with a removable bottom works wonders!  Just slide it gently underneath the crust

IMG_7798

  • and lift!

IMG_7799

  • Gently slide the disk out from under the crust when it’s over the pie pan…

IMG_7800

  • and cut away excess crust!  Ta Da!

Bon Appétit, Ma Chérie!


Applesauce Muffins

IMG_8551

Oh my goodness, these are good!  They are unlike any muffin I’ve ever tasted.  They are sweet and spicy and the tops of them taste a bit like caramelized brown sugar….Mmmmmm!

Almost forgot to mention, they are a cinch to make!  They also take no time at all, especially if you’ve already got your applesauce made.

Now, if you haven’t got an applesauce recipe of your own, or aren’t sure if you love yours, or were thinking of going the route of buying Motts for these muffins, let me persuade you to try my failproof and delicious Applesauce.  I posted the easy-to-make-and-follow recipe on Oct. 21st, and the post is called “An apple a day…”

Ok, ready?  Set?  Go!

IMG_8544

Place 1 stick of salted butter, room temperature, in a mixer.

IMG_8549

Add 1 cup of white sugar and cream (turn the mixer on medium for about 4 minutes).

Meanwhile…

IMG_8547

Sift 2 cups unbleached white flour into a large bowl.

IMG_8546

and add 1 1/2 teaspoons cinnamon and 1/2 teaspoon cloves.

IMG_8548

Whisk to combine.

IMG_8068-001

Add 1 egg,

IMG_8070-001

and 1/2 teaspoon vanilla to mixer.  Mix until well combined.

IMG_8550

Now slowly introduce the flour mixture to the butter mixture…don’t rush…take things nice and sloooooow…

The batter will appear thick and stiff, but don’t you worry your pretty little head about it…things are about to become amazing…

IMG_8552

This is where you will want to grab your tupperware container of applesauce from the fridge.  Not for you to eat, but so that you can spoon out 1 cup of this deliciousness to add to the other bowl of oh-my-goodness.  And that’s when you end up with magnificence!

IMG_8553

Mix 1 teaspoon baking soda into the cup of applesauce, before adding to mixture.  Add last.  Mix well.

Pour into 1 muffin pan (12 muffin cups) and bake at 450 degrees for 15 minutes.  Take out of pan, almost immediately and cool on rack.

Bon Appétit, Ma Chérie!