

Flaky, foolproof French pie crust…alliteration at its finest!
The French in the kitchen are like the Elves in Santa’s workshop – magic happens and the finished product is always maginifique!
Their pie crust is no exception. It is always delicate and a fine balance between sweet and salty and flakes beautifully. I’ve always wondered at the secret behind the perfection of it…
And have finally gotten my hands on the recipe!
The only reason it isn’t French bakery quality is because I’m the one making it! Practice makes perfect and I’m sure that once I’ve made at least one thousand pies, I’ll be able to finally boast about my pie crust.
However, let me tell you that this pie crust will knock your sox off and those of your family, friends & guests, too!

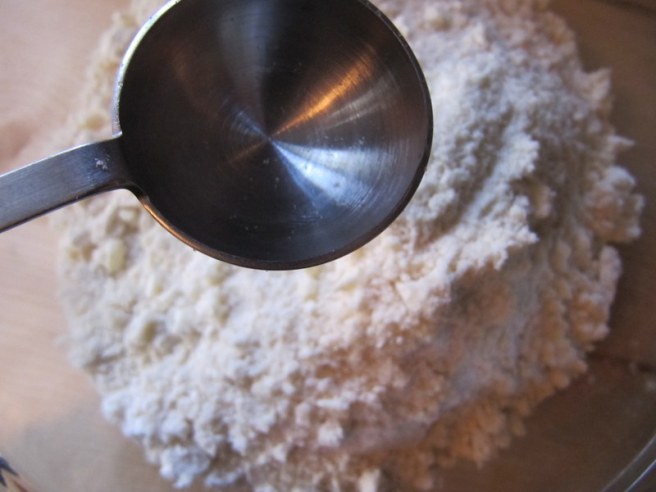
Blend 2 1/2 cups all purpose flour,

2 tablespoons (packed) golden brown sugar,

and 3/4 teaspoon of salt in food processor for about 20 seconds.
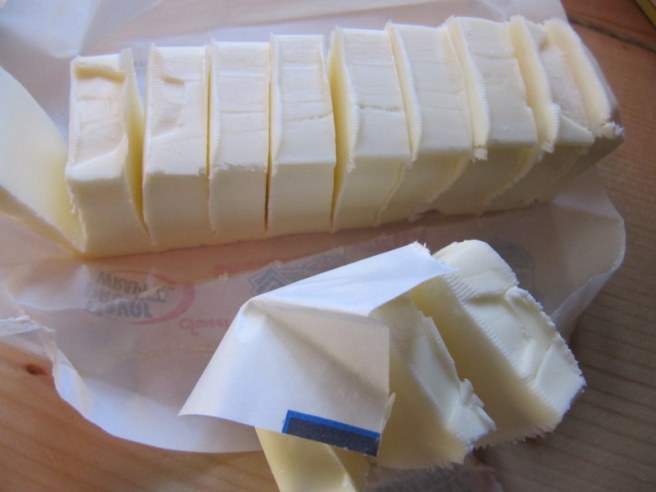
You’ll need 10 tablespoons (1 1/4 sticks) chilled unsalted butter, cut into 1/2-inch cubes,

and 5 tablespoons frozen solid vegetable shortening, cut into 1/2-inch cubes.
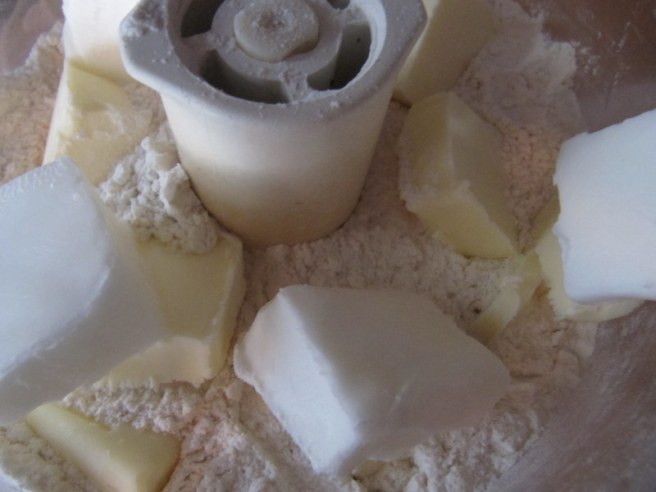
Add butter and shortening to food processor;
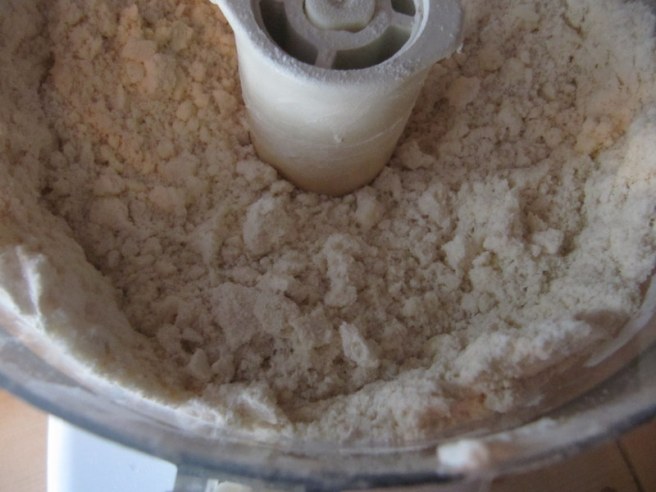
using on/off turns, process until the mixture resembles coarse meal.
Transfer “coarse meal” to large bowl and add 8 tablespoons freezing cold water.
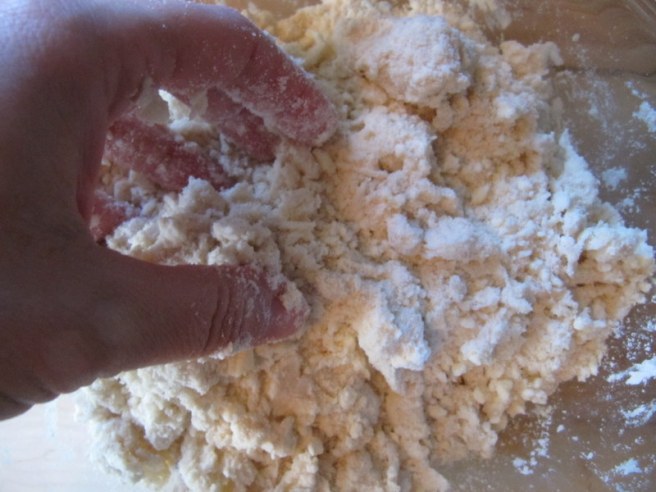
Mix with your hand until moist clumps form.
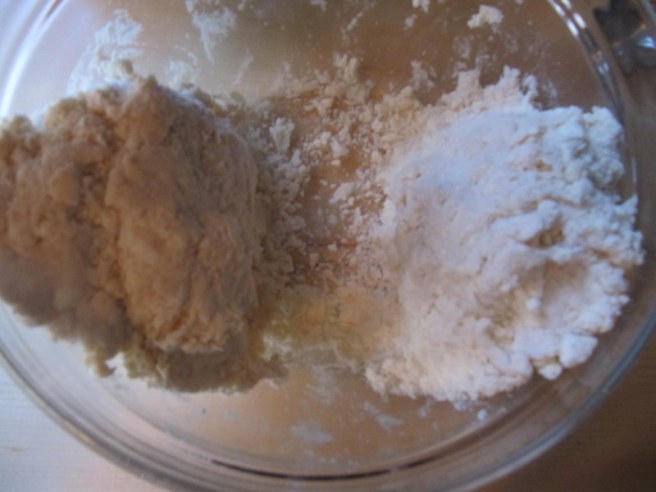
Gather dough together into two equal parts,
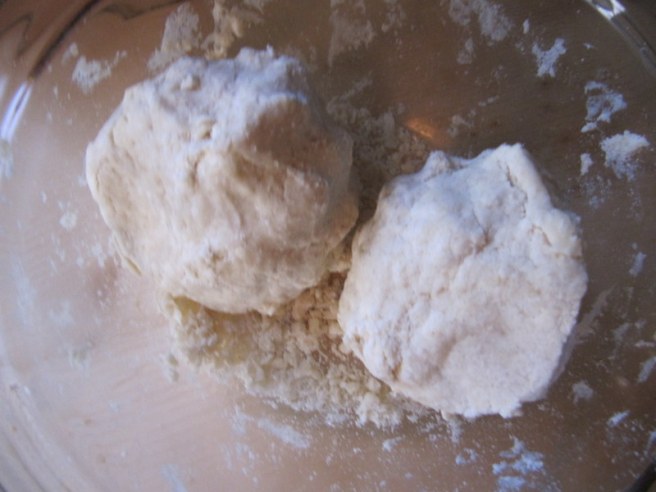
and form each part into a ball. If it’s crumbly and you can’t stick all the pieces to the ball, you’ve done it right!

Wrap each ball in plastic wrap and

flatten with the palm of your hand,
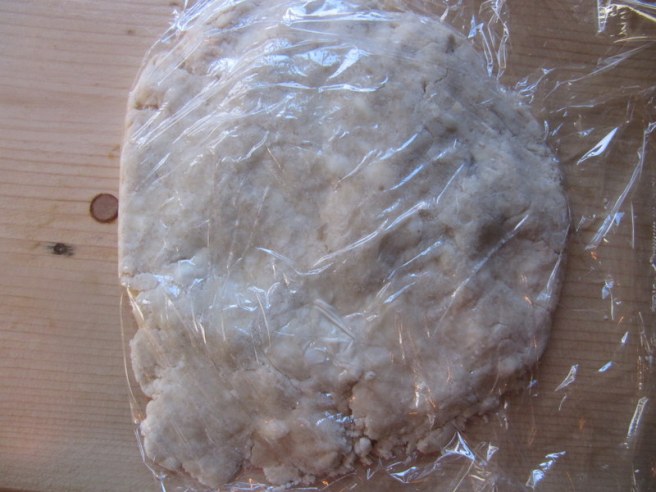
to form a disk.

Refrigerate the disks for one hour before using. Or freeze for up to 6 months, as long as it’s tightly wrapped in heavy-duty aluminum foil or freezer-weight plastic wrap and sealed in a freezer bag.
And that’s it, folks! This here is the greatest pie dough recipe you’ll find…try for yourself!
And here are a few more tips to make working with pie crust easier and more successful for you…
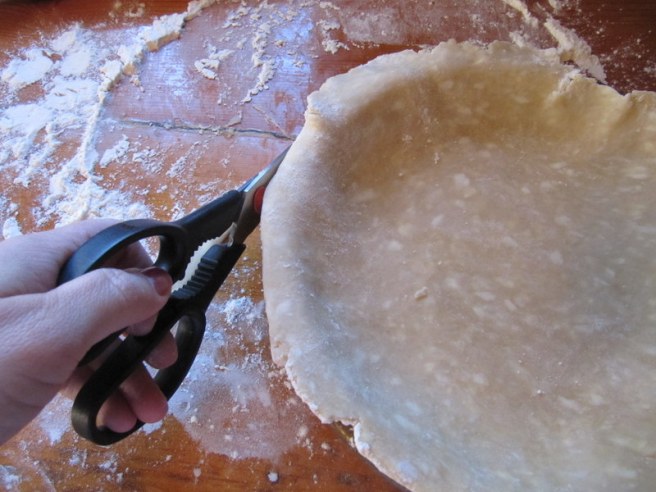
- Roll out the dough on a floured surface and use a floured rolling pin.

- Measure it. You’ll want about 2 inches extra than what the recipe calls for, so that you can tuck it in. So here, the recipe called for a 9 inch pie crust and I rolled it out to 11 inches.
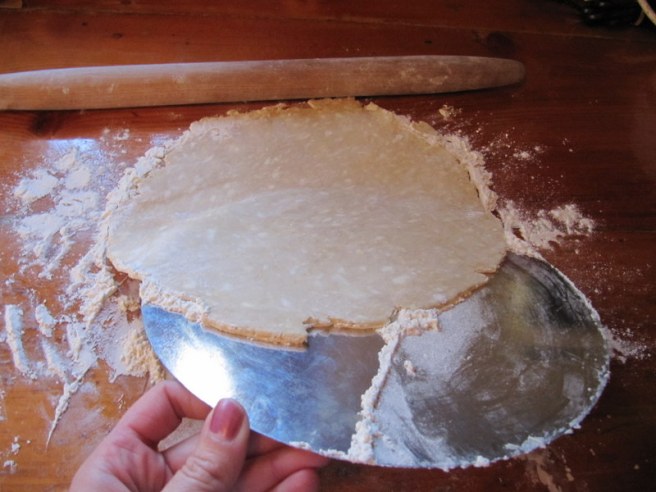
- To remove it from the floured surface without sticking or tearing, I’ve found that using the flat disk from a pie pan with a removable bottom works wonders! Just slide it gently underneath the crust

- and lift!
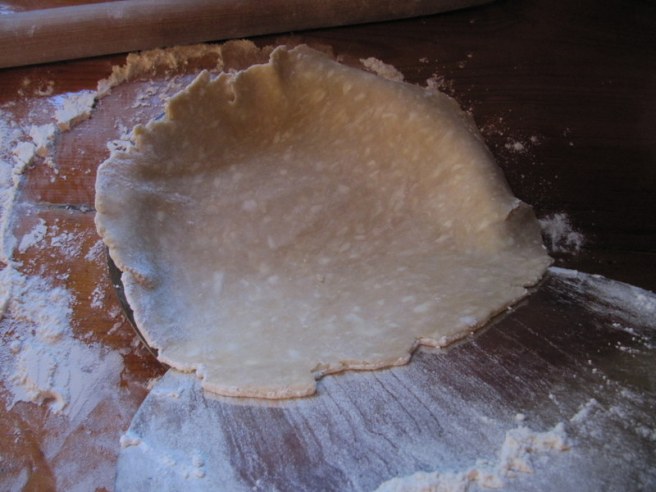
- Gently slide the disk out from under the crust when it’s over the pie pan…
- and cut away excess crust! Ta Da!
Bon Appétit, Ma Chérie!
