Ski Swaps

ski-932188_640

Do Not Be Intimidated!

I was…for soooo long.  I had no idea what to buy, what I would need, how to figure out my size in boots (not the same as street shoe size), how tall or short my skis should be, let alone figure out how to buy for my husband who wouldn’t be there to things on!

And the lines looked so long.

And I was afraid of looking like poser, a fraud.  I just wanted decent ski equipment on the cheap.  And isn’t that an oxymoron?  Skiers and budgets???!

Not so…these ski sales or ski swaps are brilliant.  They are usually put on by a local ski club, and the profits go to those who bring in older equipment and a portion goes to the club.  It’s usually held in front of a ski shop, who gains by helping people find what they couldn’t in the swap.  Or by discounting on sharpening, waxing, binding fittings, etc.

And the people there couldn’t be nicer.  Nice, nice, nice.  Extremely helpful.  Extremely decent about working with your budget and encouraging just that, especially for young families looking to bring their kids skiing.  And not condescending about your lack of knowledge, but rather, excited to educate you with what they know or find someone who knows even more!

Oh.  And did I mention the bargains??  I got a pair of gray Nordica ski boots for $35.  $35!  And I almost started crying when I put them on because it was the comfiest my little foot had ever been in a ski boot.  Most of the time my foot cringes at the sight and has to be contorted and wrangled into it and it feels bruised before I even take my first steps.  And then when I do, every part of my foot, ankle and calf hurt.  Probably because rental ski boots are purely functional and not designed to accommodate variations to a size 7 foot, just a “one size fits all” mentality.  And beautiful skis ranging from $40 on up.  It was like Christmas.

And let me fill you in on a little secret, skiers are able to afford skiing because they partake in these ski swaps.  Rather than paying exorbitant prices each time you want to upgrade your equipment or get your child the next size up at sports shops, etc, this enables everyone to make out in the deal.

Get in line.  It’s soooo worth it.  And by the way, the lines move very quickly, they serve hot coffee & you can buy a couple donuts and best of all, you  will meet other people who are just as excited as you are about hitting the slopes!


Brand Name Foods


IMG_2336.JPG

I’m all for saving money when I grocery shopping.

In fact, I actually shop at 2 different grocery stores most weeks!  One to buy dry goods and name brand dairy products, because they are less expensive than my favorite store where I buy all their beautiful produce and meats.

And sometimes I buy grocery store brand items to cut down on the bill.  But, only sometimes.  And only with certain items.  Because I believe there is a difference in quality and taste, and I can tell.

And now, so can my Beach Rose.  The other day I offered cinnamon graham crackers to my savvy little 5 year old (She just turned, can you believe it?  I just wanna cry when I think of how quickly she’s growing…) as her snack.  She was so excited.  I opened the new package and let her grab her own.  She asked if I could please leave the package next to her at the table so that she could have another one if she was still hungry after the first. No problem.

2 bites in and she says, “This doesn’t taste good, Mama.  It doesn’t taste the same.  the cracker isn’t good and you can’t even taste the cinnamon.”

I believe that you can get away with grocery store brand vegetable oil, bandaids, freezer bags, milk, etc.  But be careful buying grocery-store brands of the classics and favorites: crackers, cheese, chips, etc.  There is a different in taste and in quality.

Even in items you wouldn’t think you’d need to worry about, you want to really think about.  I bought a 5 lb bag of sugar, and it wasn’t Dominos, and the sugar was in the clumps from the top of the bag all the way to the bottom.  Very frustrating when you’re trying to bake and you have to push your sugar through a fine sieve before measuring it!

And baking soda and powder?  Don’t do it!  They are crucial to baking and the quality may be compromised and you definitely only want the best quality products to bake with!

Food for thought…


Mud Cups

img_2292

HAPPY HALLOWEEN!!!!!!

And here’s a treat that your little ones will love to help you create!  (I know. I know.  As if they won’t be getting enough treats, right?  But, you can bring these in to the Teachers or to church or to the Library, or the neighbors…)

Let the sweet adventure begin!

img_2280

You will need to purchase 16 oz of refrigerated sugar cookie dough.  Leave it out at room temperature for about 15 minutes, before you are about to begin baking.

img_2281

Grease 18 muffin cups.  (You’ll just put a little water in the empty 6 cups, right before you put them in the oven so that the cooking remains even.)

img_2282

Add 1/4 cup unsweetened cocoa powder to the softened sugar cookie dough into the bowl of a stand mixer.  Whisk together until cocoa powder is well incorporated.

img_2283

Turn mix out onto the counter with a spatula.  Divide mixture into 18 portions.  (Cut in half, quarters, eighths, 16ths and then wing it!)

img_2284

Let those cute, pudgy little hands get to work rolling those portions into “meatballs”.

img_2285

Put the “meatballs” into the greased muffin cups.

img_2286

Press onto bottoms and up the sides of the muffin cups.  Bake in preheated 350 degree oven for 12-14 minutes.

img_2287

Cool in the pans for 10 minutes.  Remove to wire racks.  Gently press down the middle of each cookie with the back of a spoon.  Let cool completely.

img_2288

Here are the ingredients you’ll need to complete your mud cups:  About 10-15 Oreo cookies, run through the food processor, 3 containers (4 oz each) yummy chocolate pudding, gummy worms, and your cookie cups.

And now for the assembly…the kids love this part!

img_2289

Spoon some of the chocolate pudding into the center of each cup,

img_2291

sprinkle with oreo crumbs,

img_2292

and finish with a couple of worms!

Bon Appétit, Ma Chérie!

Swedish Apple Pie

img_2239

I was having my father-in-law over for our weekly Monday night dinner and had no time to prepare a dessert.  I looked around the kitchen, spotted the giant bag of apples I’d picked with my little Beach Rose and thought of this recipe.

Prep time cannot be more than 15 minutes. Soooooo easy and so impressive and most importantly, absolutely spectacular.

Oh, and did I mention that it retains its crispy crust for up to at least 4 days after it’s made?  (I only know about the 4 day crisp-retention because my husband begged that I keep it for him to bring a piece to work from Tues-Friday and he said it was out-of-this-world!)

Let the sweet adventure begin!

img_2229

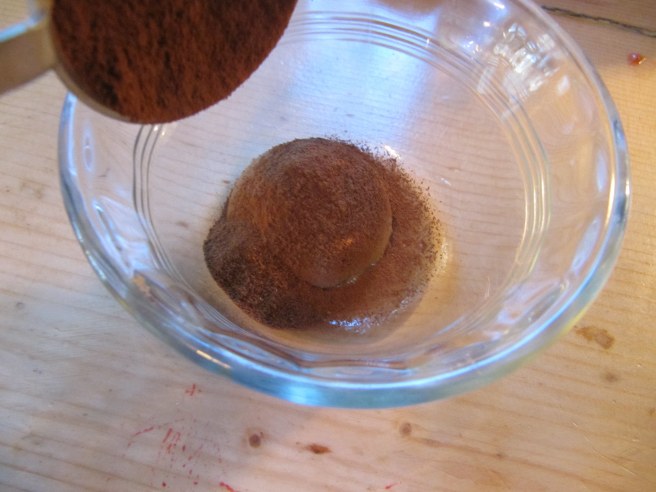
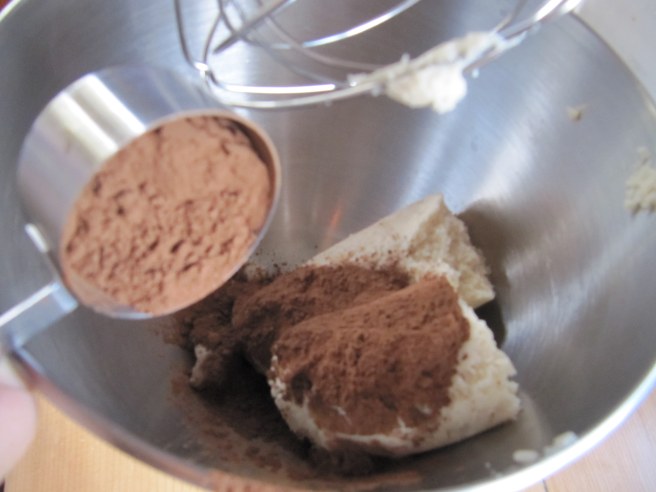
In a tiny bowl, mix together 1 Tablespoon of brown sugar with about 3/4 Tablespoon of cinnamon.

img_2228-001

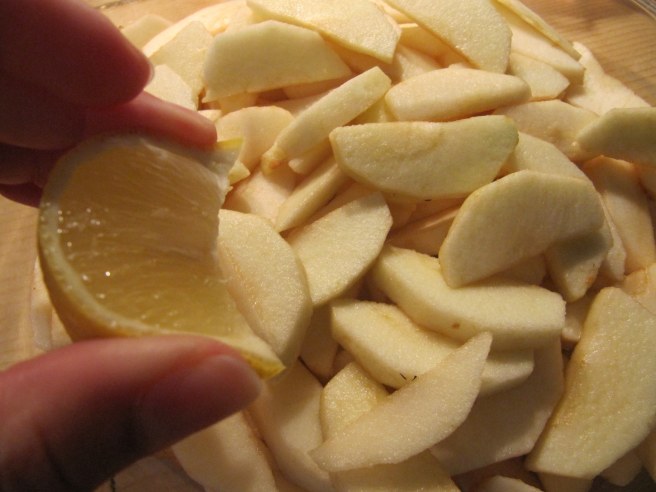
Peel, core and slice about 4 apples (Whatever you have on hand works!  I used MacIntosh and they were amazing…).  I say “about” because you want to fill a 9-inch pie pan about 2/3 of the way full with the sliced apples.  It’ll be tempting, but don’t go over the 2/3 line! (Or somewhere in that vicinity.)

Squeeze a slice of lemon over the apples.

img_2230

Sprinkle the apples with the cinnamon-sugar mixture, and gently move around to coat all the pieces.

img_2231

In a medium bowl, combine 3/4 cup of melted butter with 1 cup of brown sugar,

img_2232

1 cup of flour,

img_2233

and 1 large egg.

img_2234

Mix with a fork until all ingredients are incorporated.

img_2235

Use a spatula to pour over apples and spread over them.

img_2236

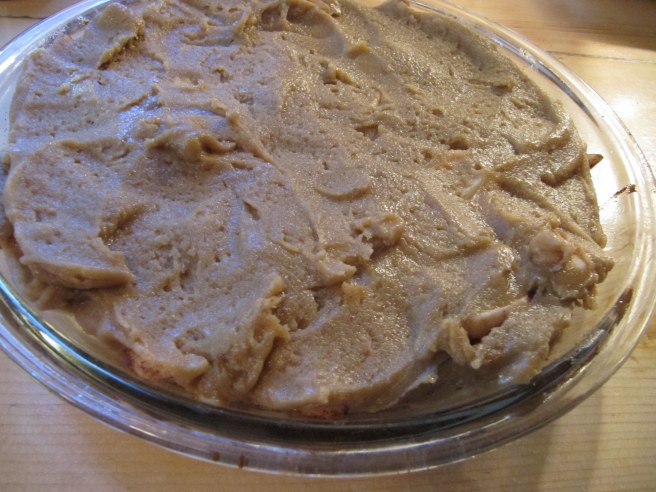
Like so.  Pan should be about 3/4 full.

img_2237

Just in case your pan is a little on the full side, place your pie dish on a foil lined cookie sheet to avoid messy clean-ups!

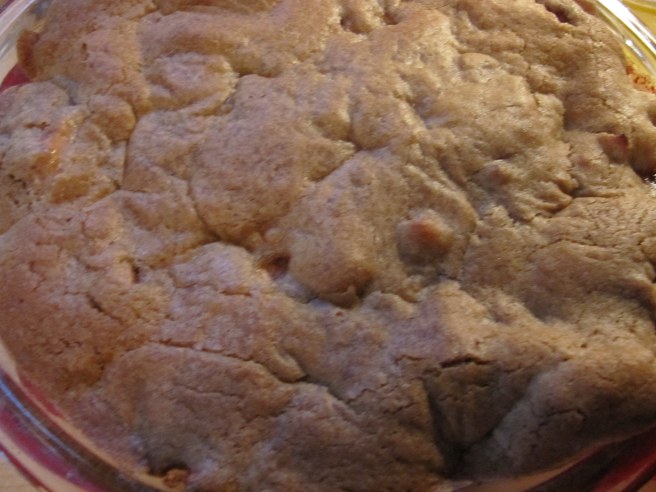
Bake in a preheated 350 degree oven for 45 minutes.
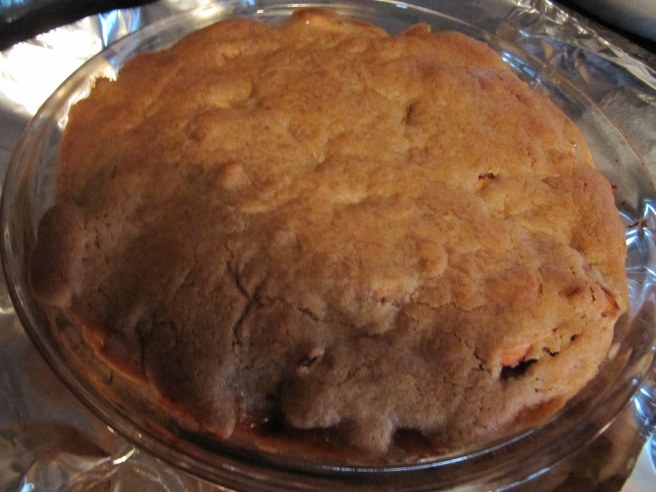
img_2238

Mmmmmmmm!

img_2241

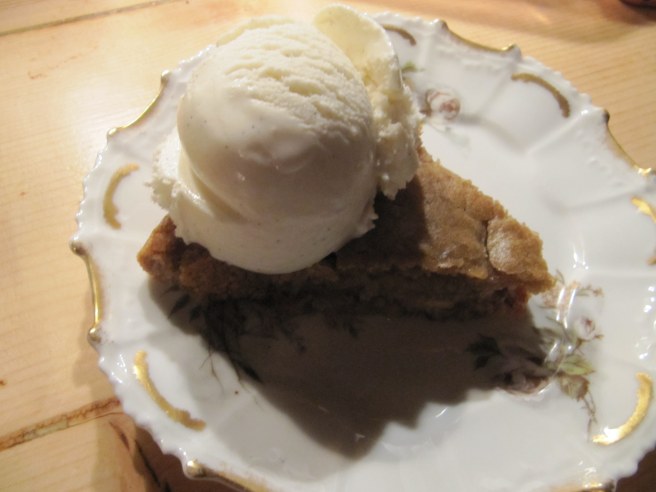
Serve hot, warm or room temperature with vanilla ice cream.

This will definitely become a go-to recipe for “apple pie”.  Simple to make, not many ingredients, most of which you have on hand, barely any clean-up, and delicious for days!

Bon Appétit, Ma Chérie!