I never met a Pumpkin I didn’t like

I’m so glad I live in a world where there are Octobers. – L.M. Montgomery

IMG_7360

It’s that wonderful time of year again…houses are decorated with pumpkins and mums, scarecrows and cornstalks.  Those perfectly maintained manicured lawns that you covet in the spring and summer are littered with vibrant, paint-dipped leaves, finally putting them at a level playing field with all other lawns.  And when the moon comes out at night, the jack o’ lanterns light up the neighborhood.

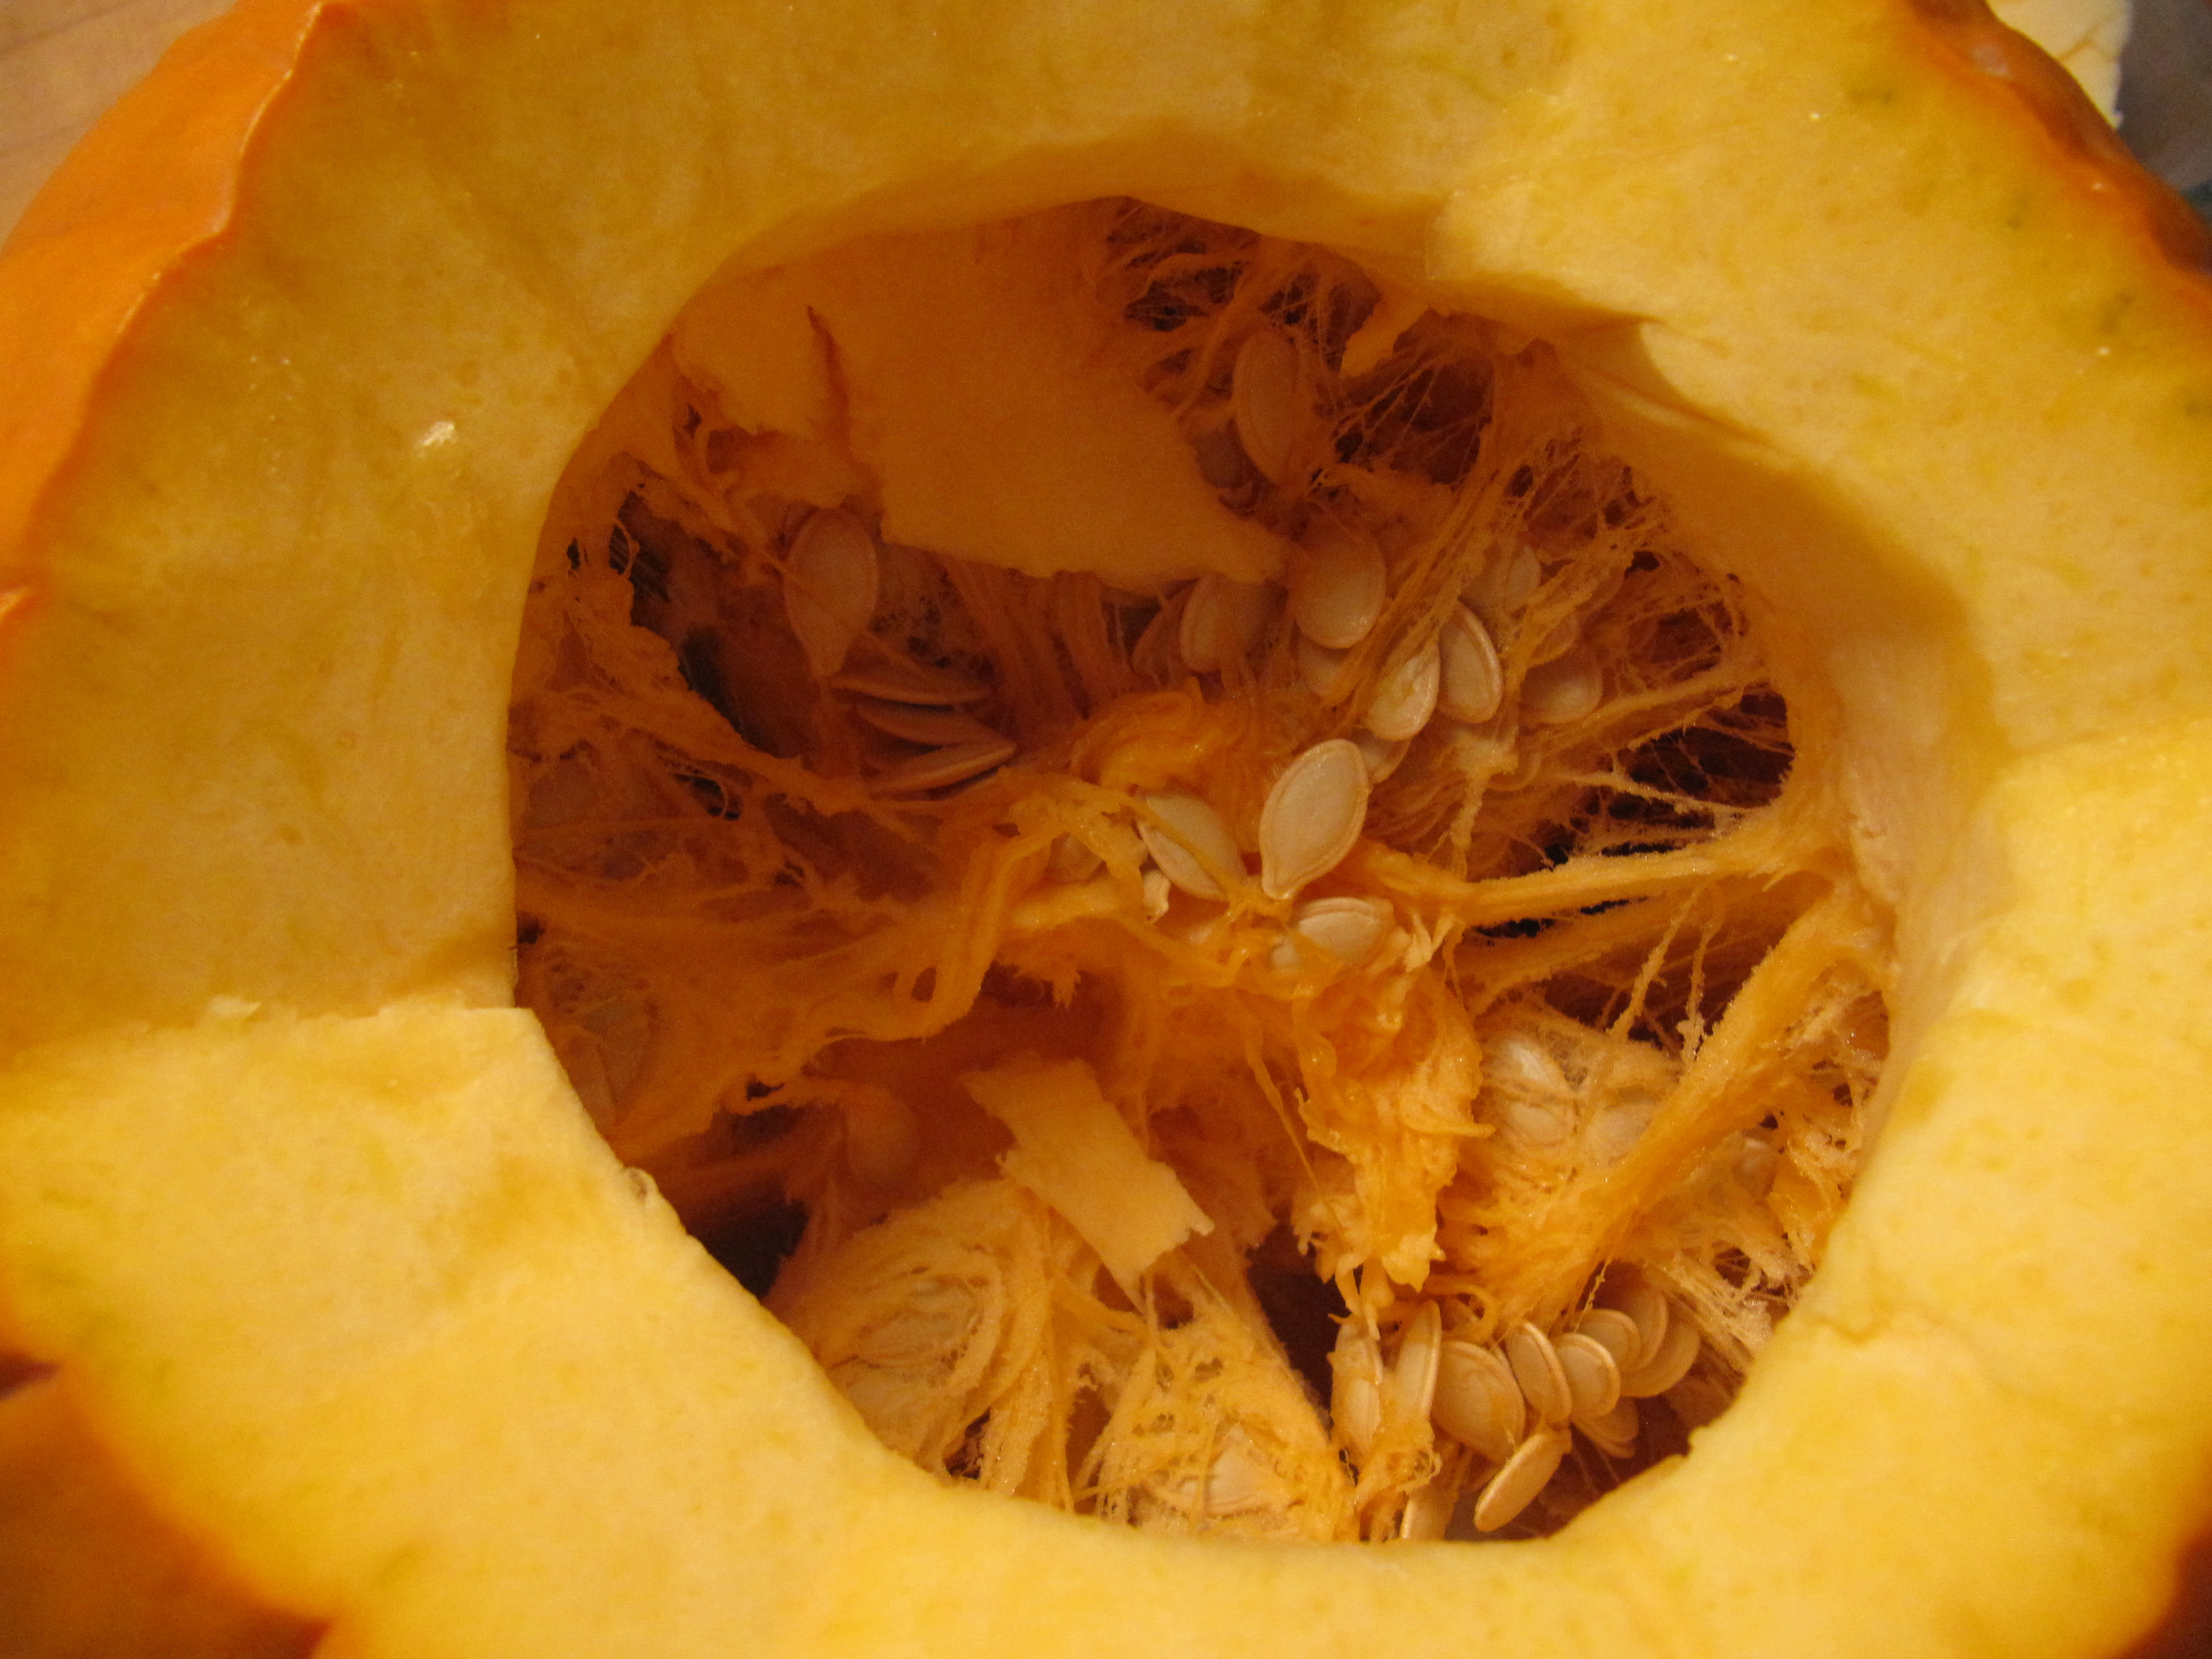
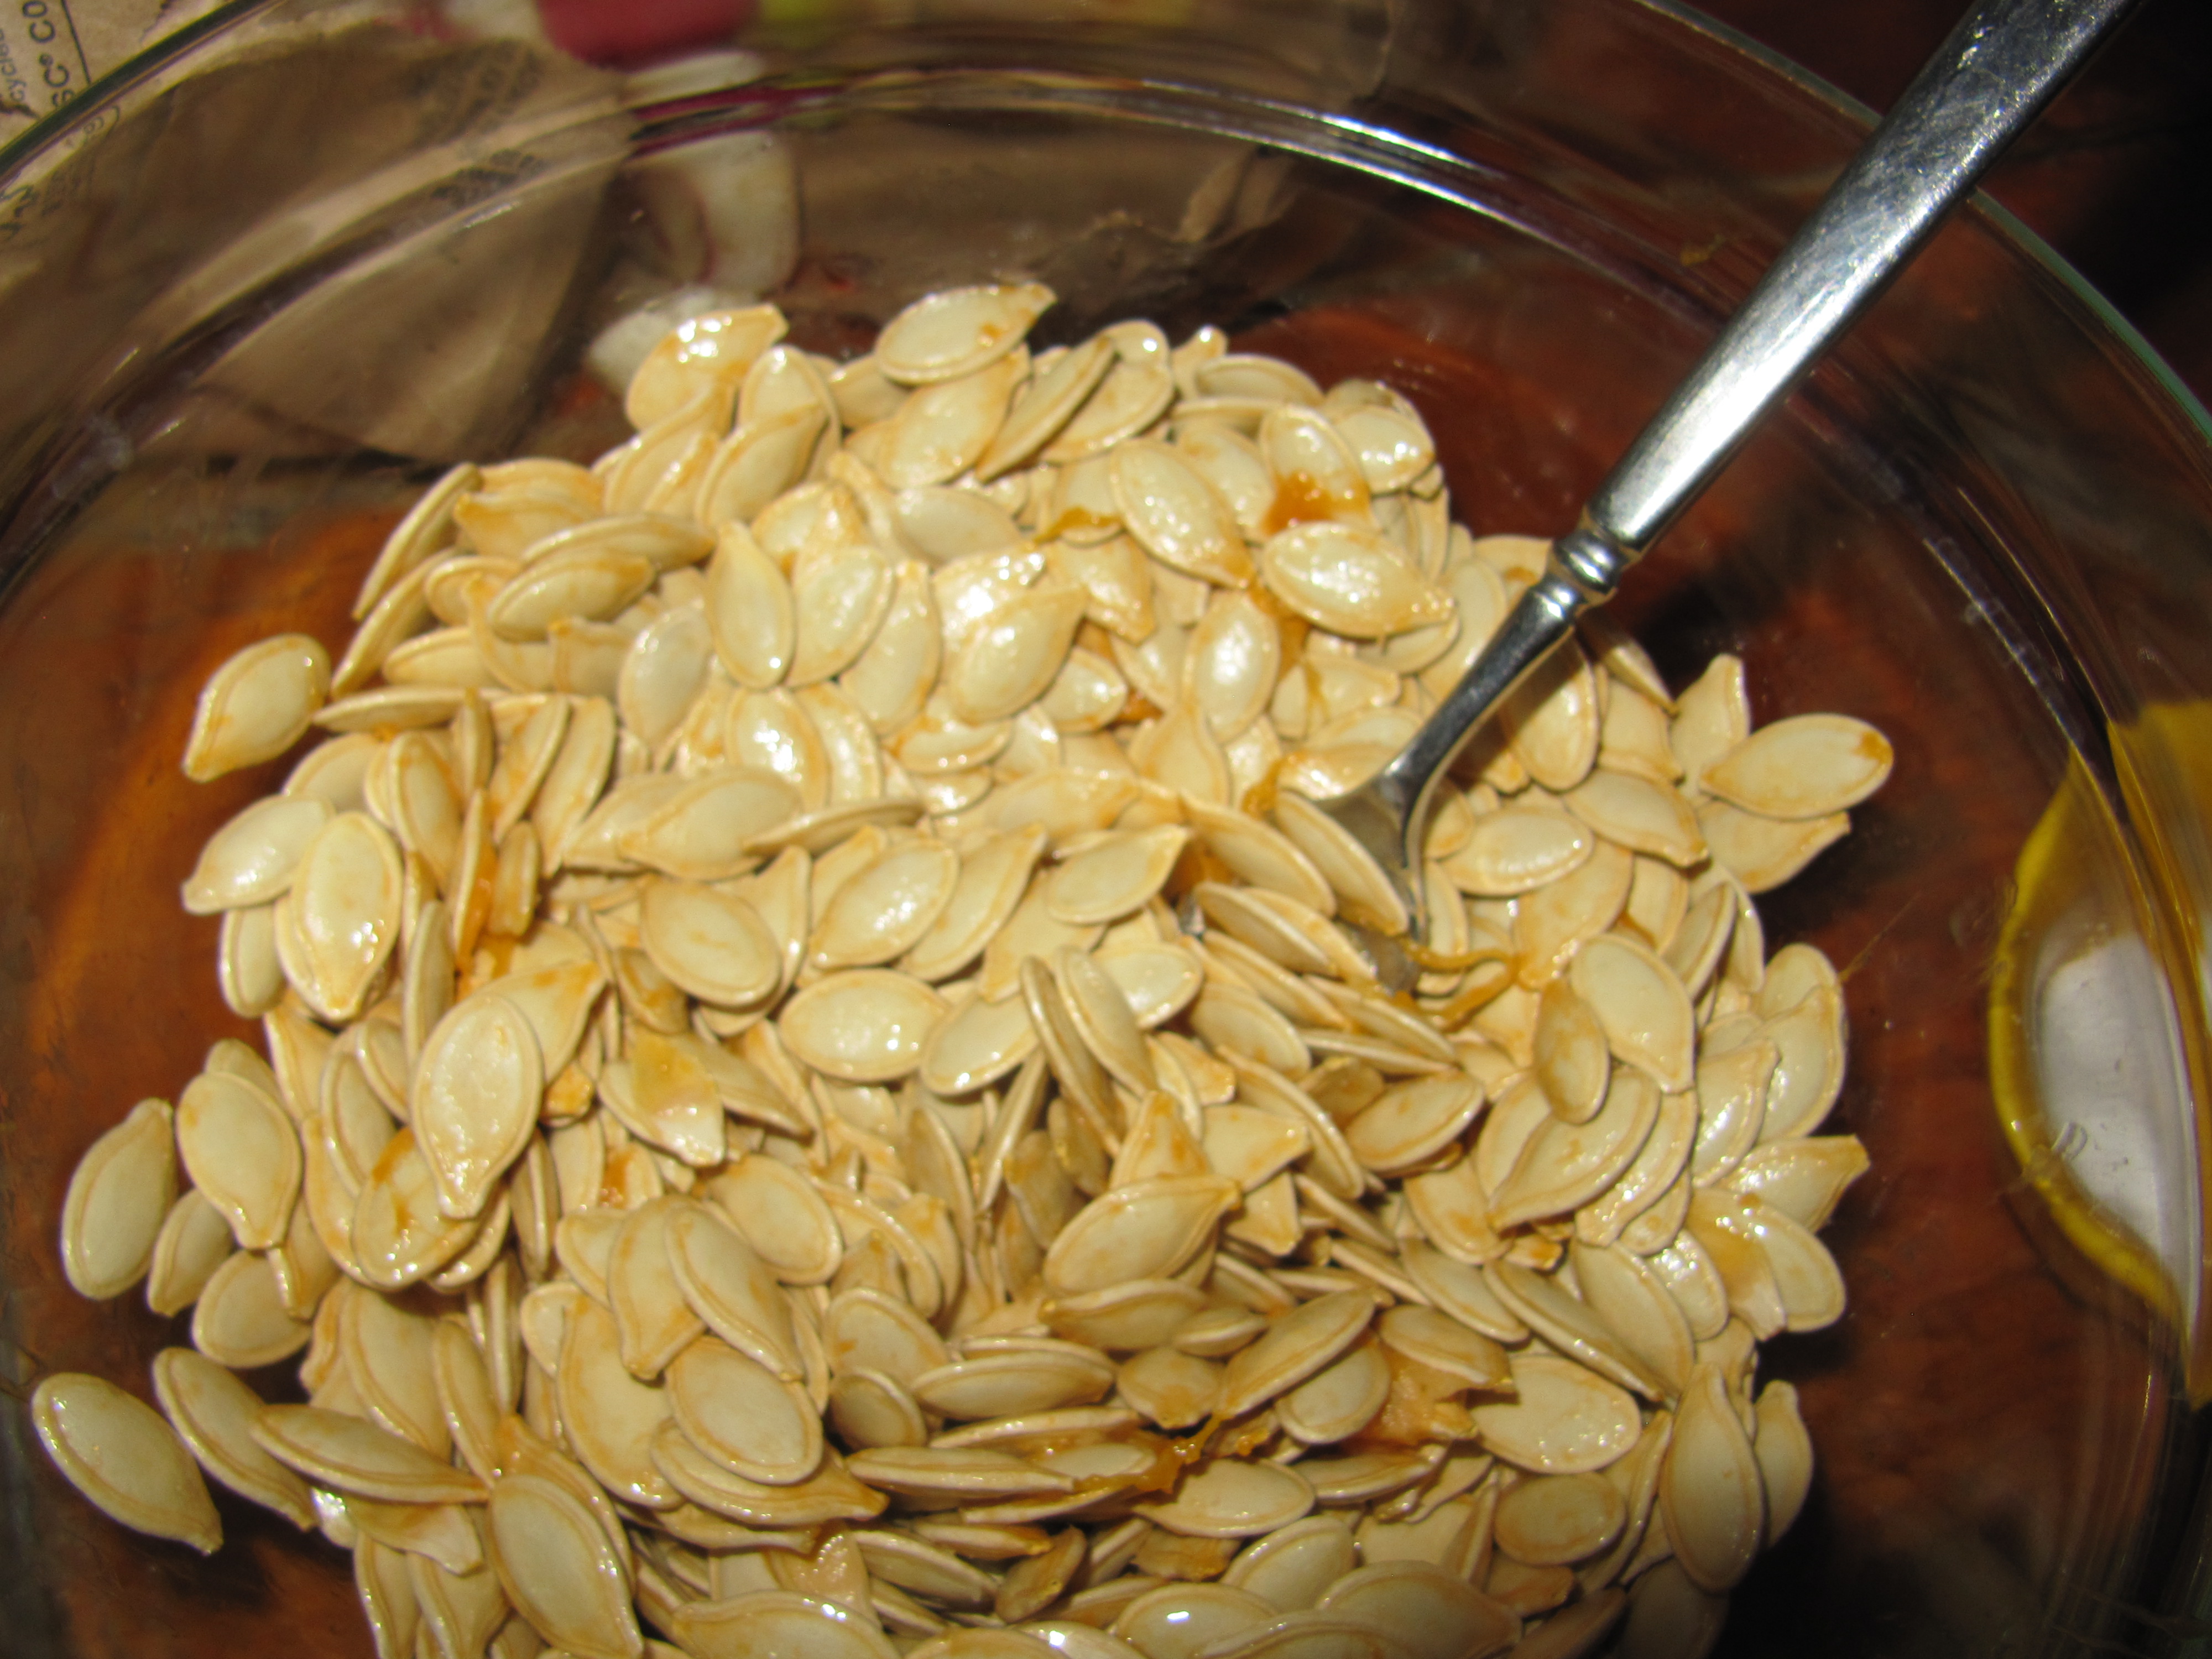
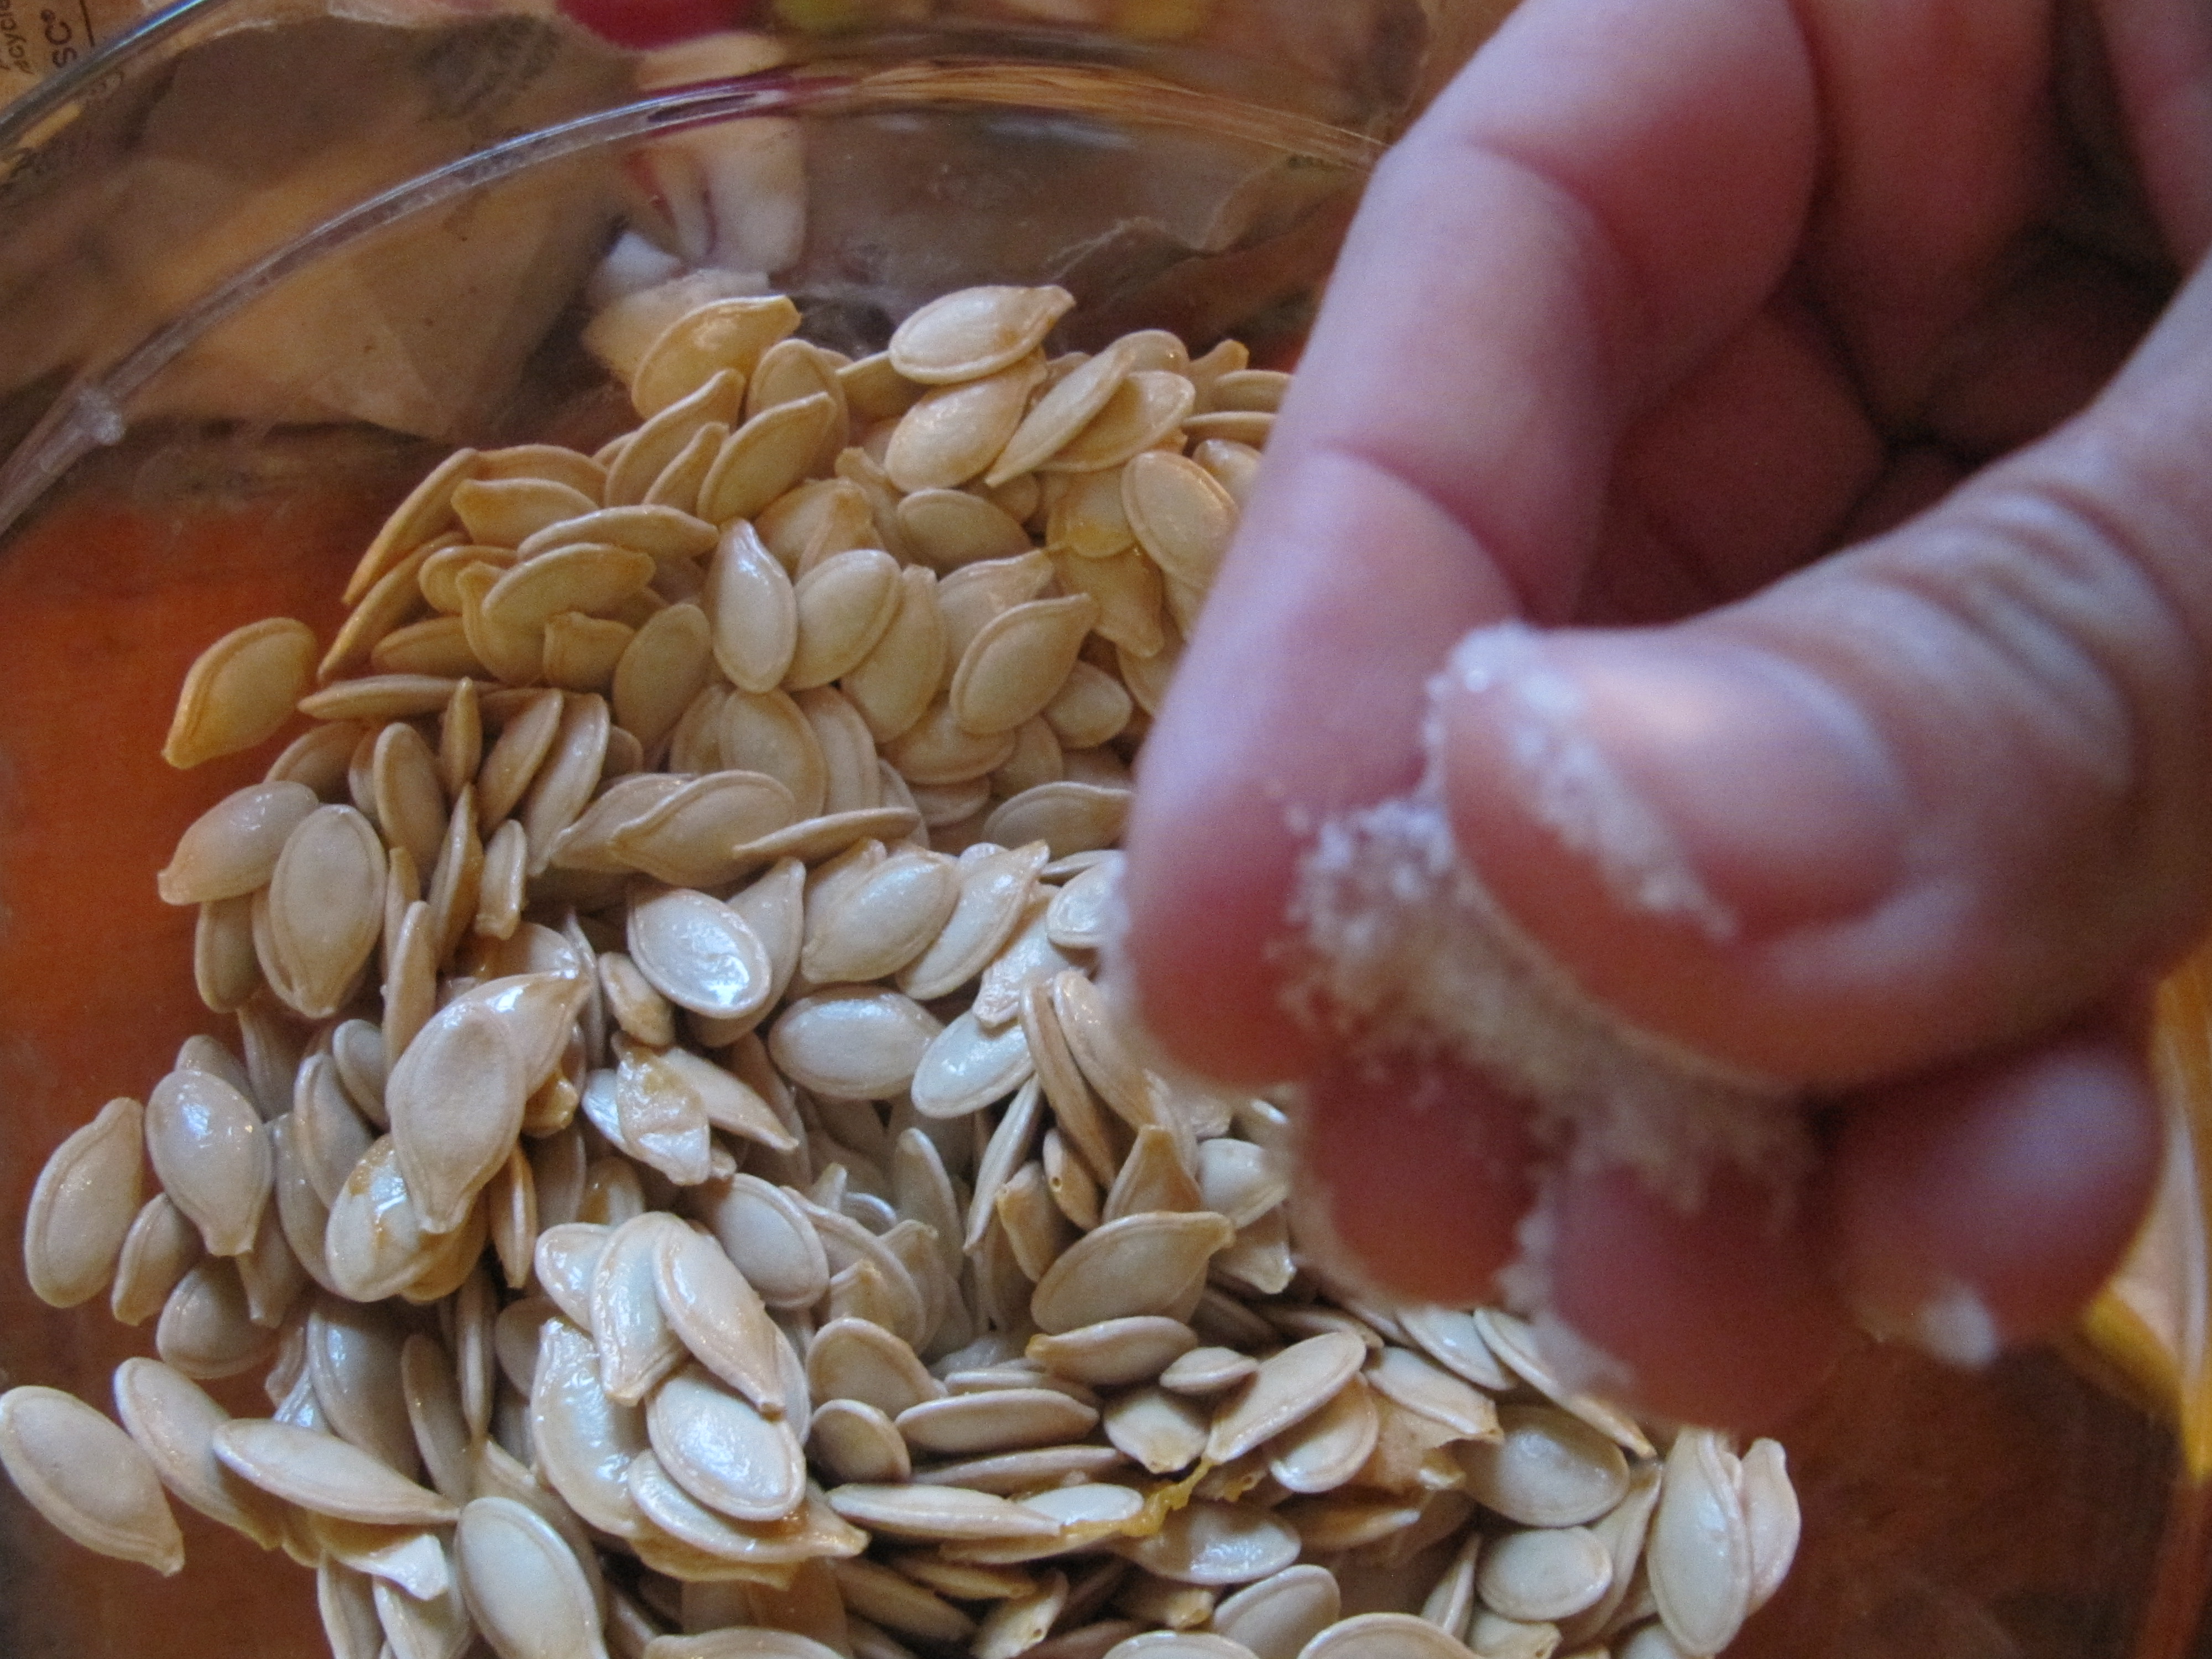
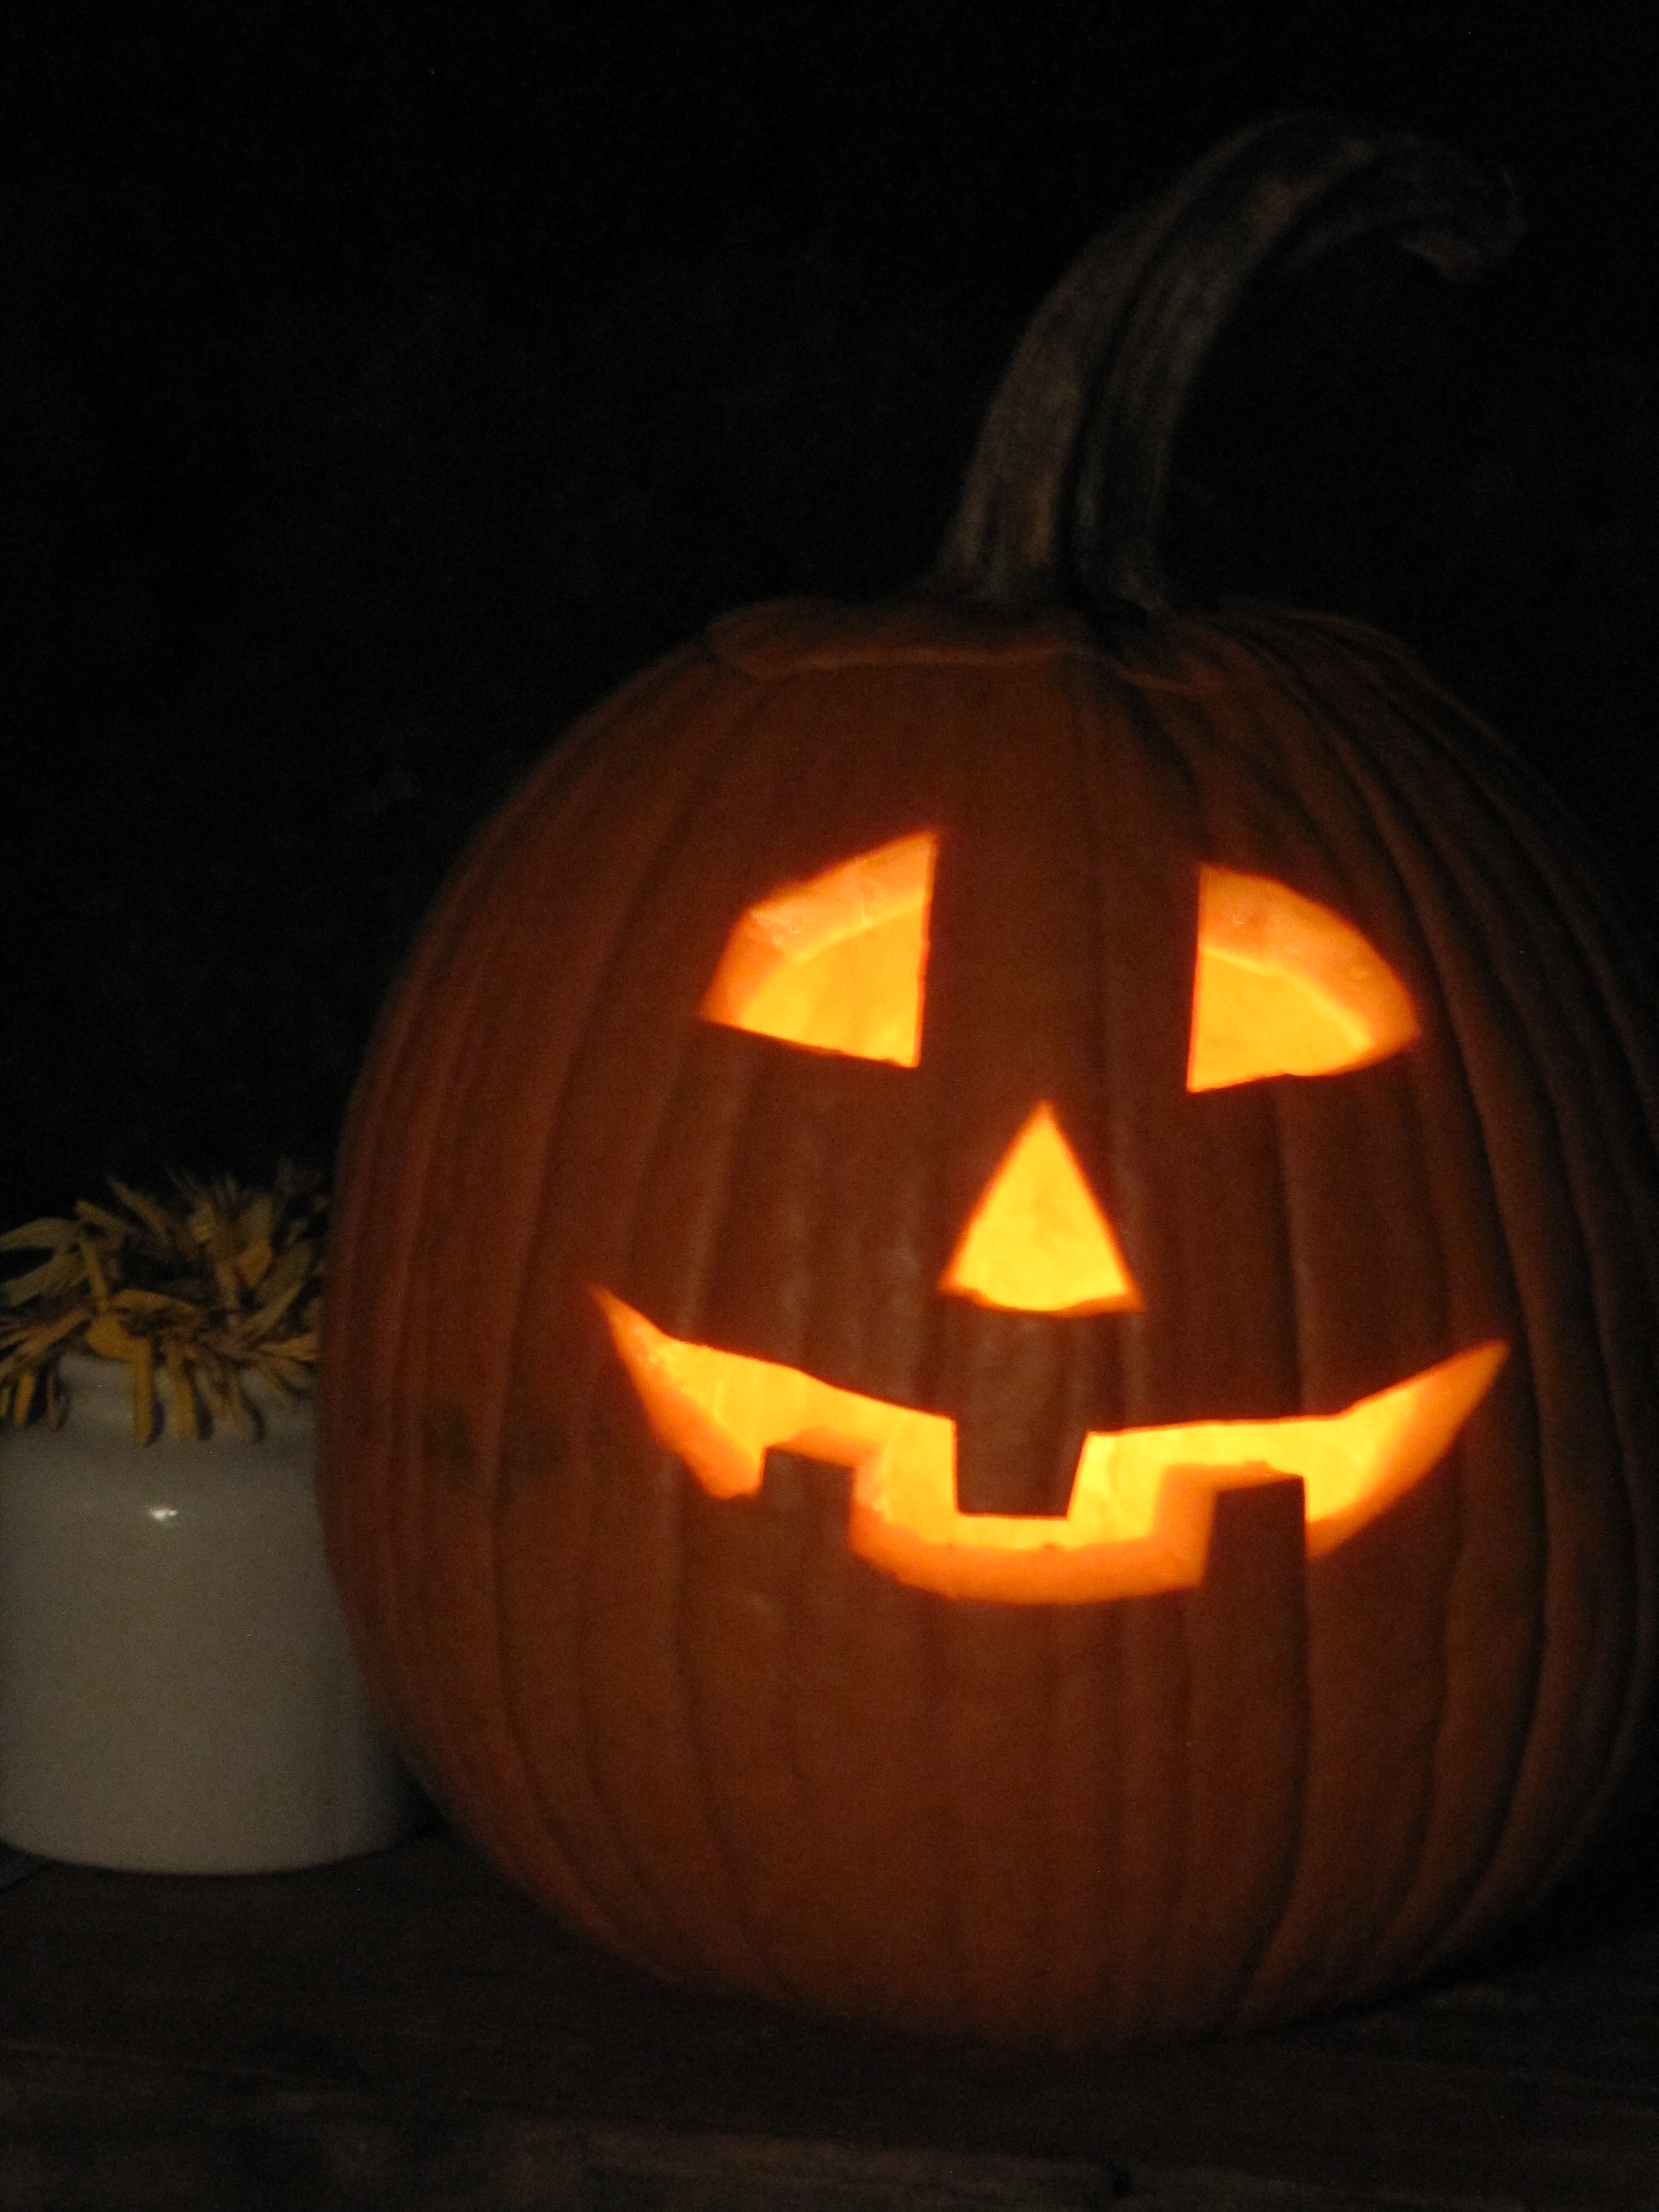
Carving a pumpkin is fun at any age… before we had our little beach rose, my husband and I each carved our own every year!  Now we let her pick out a ‘friendly’ pumpkin face, from any of the Halloween books we loan from the library, for Daddy to carve and she does all the scooping of the pulp and seeds, the sorting, and the salting.  Things get a bit messy around here!  Oh, but it is soooo worth it…  the look on her little face when the Jack O’ Lantern comes to life is priceless.

IMG_7328

FUN FACT: The size of the pumpkin does not determine the amount of seeds it contains. This is determined by the amount of time it spent on the vine. A pumpkin full of seeds is usually much darker in color and has more lines on the outside. Each line on the outside is a row of seeds on the inside!

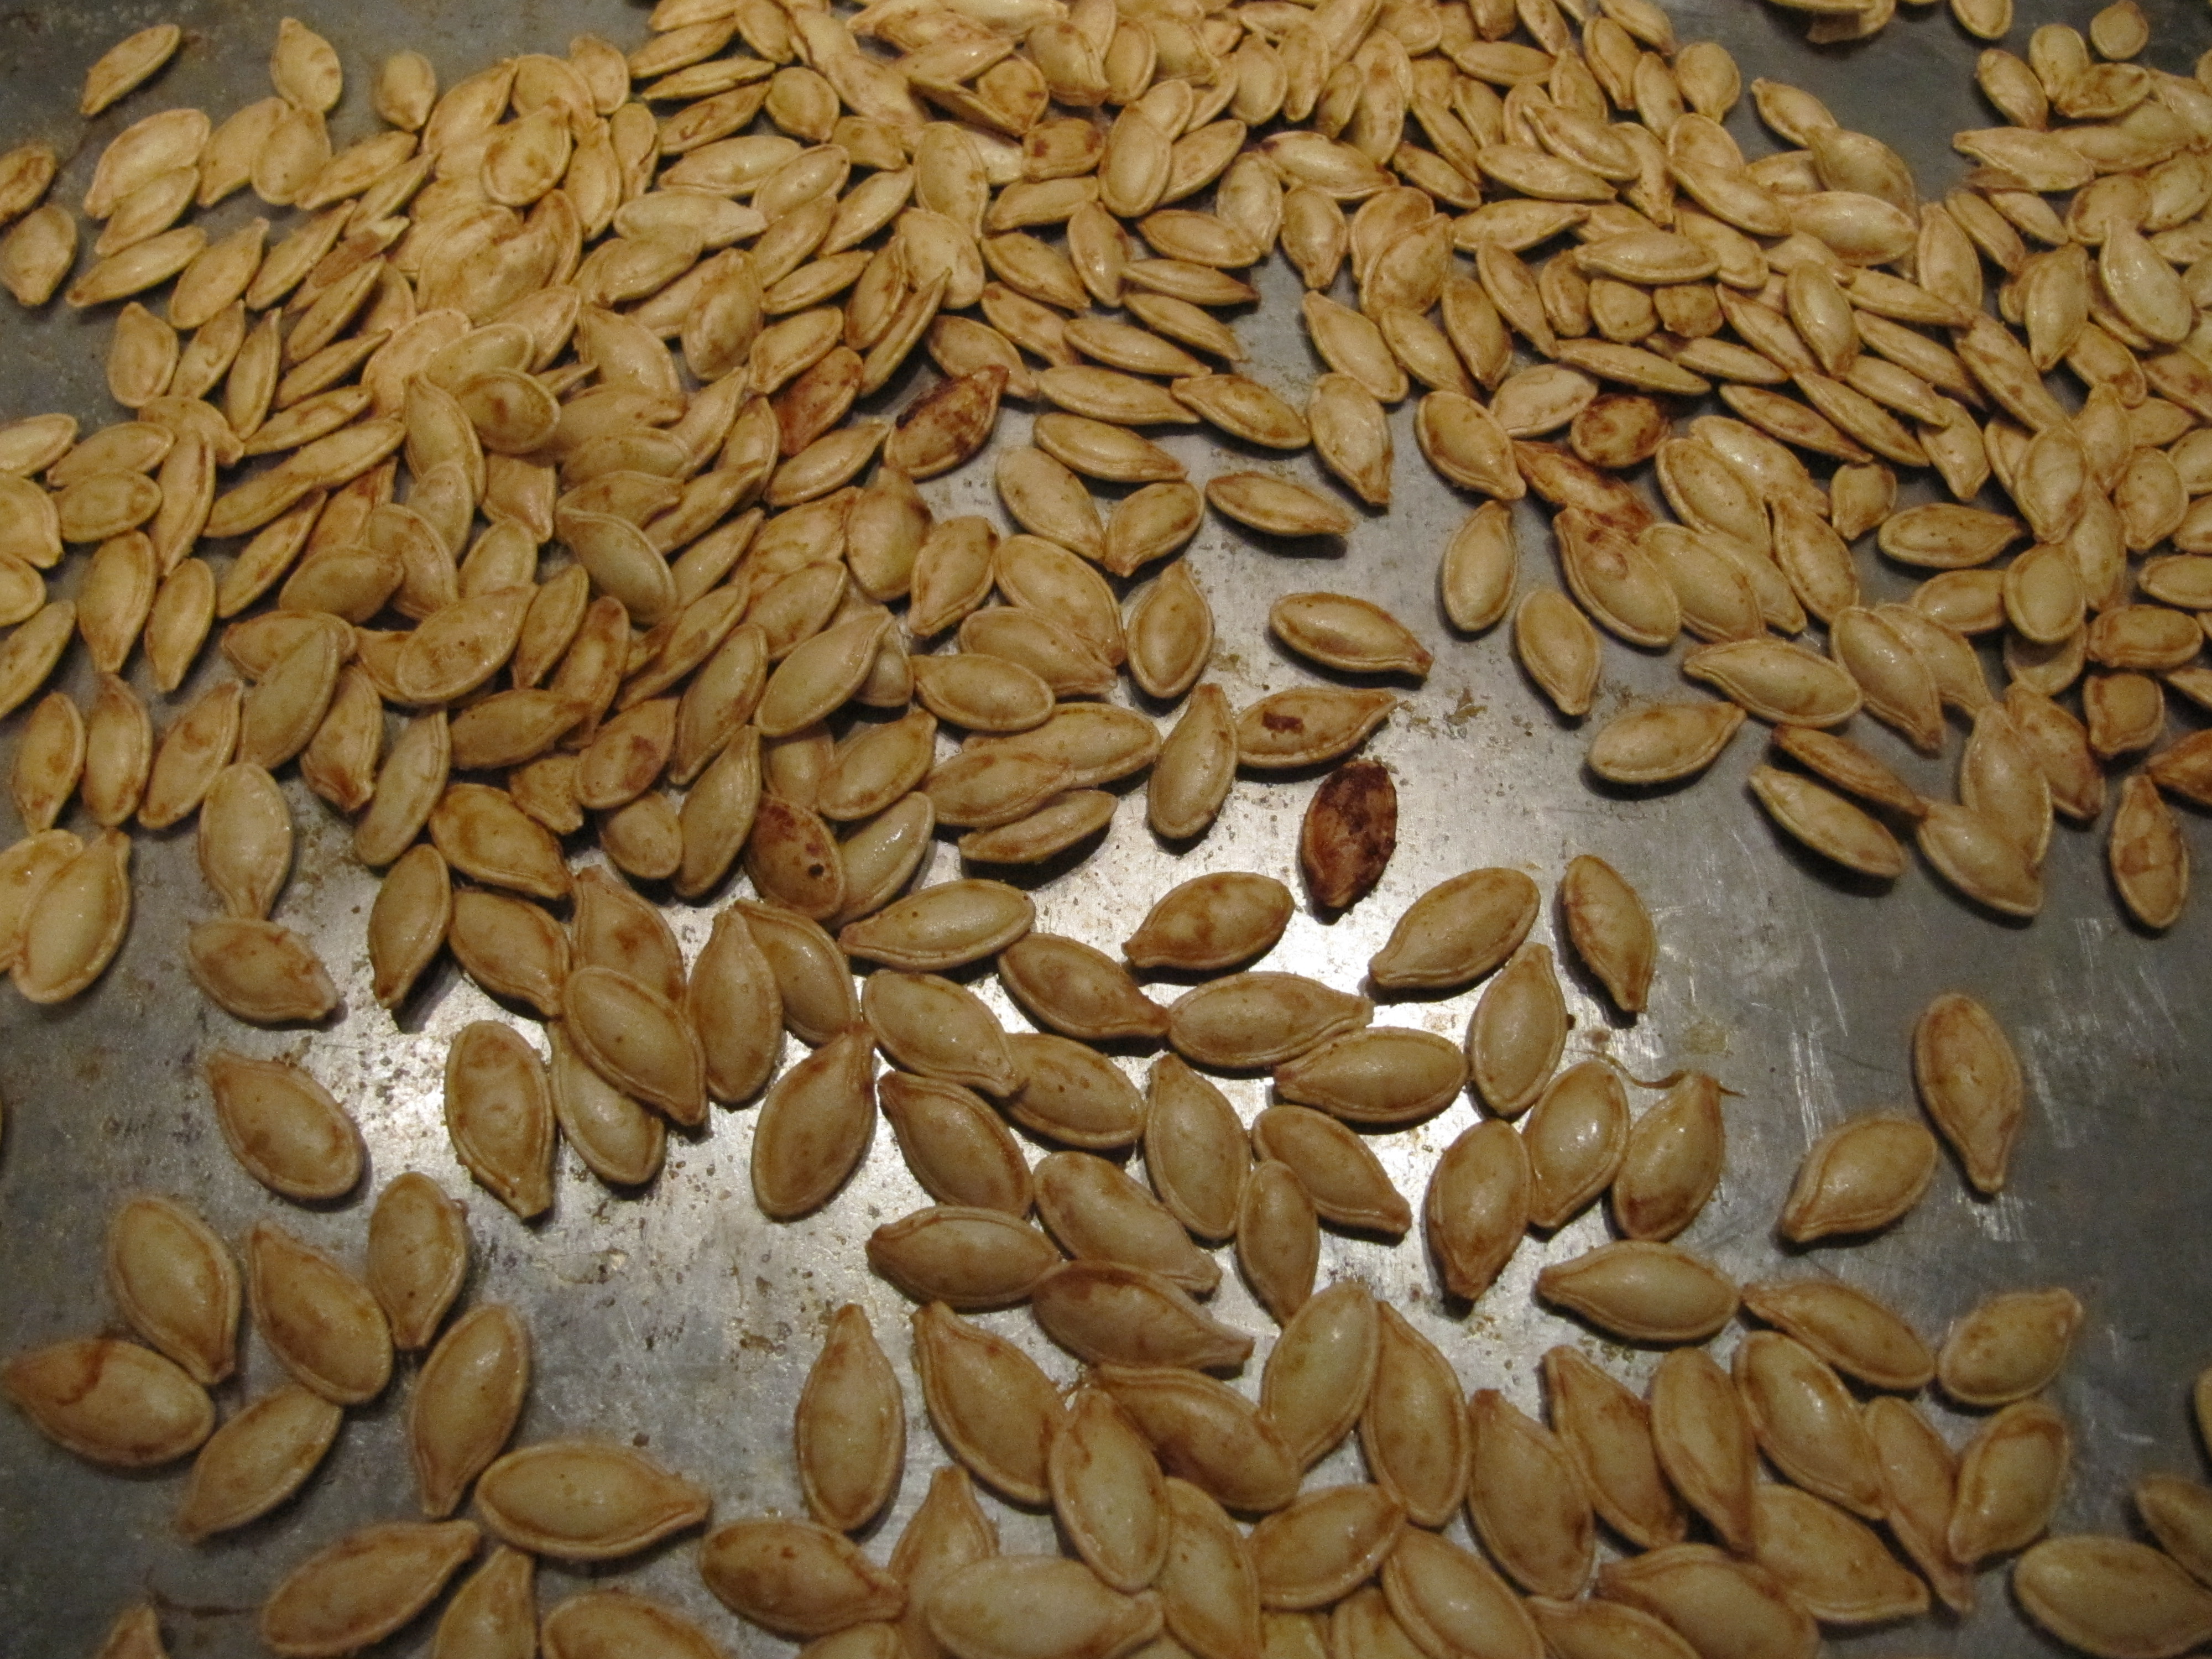
Ready to learn how to make super-simple, super-delicious

Roasted Pumpkin Seeds?

IMG_7330
After picking out the perfect pumpkin, begin by removing the stalk at the top. Make cuts into the pumpkin at an angle, away from your body. Do this all the way around the top of the pumpkin and tug hard to remove the top!
IMG_7333
Now start scooping! Hands work best…scoop out all the seeds and slimy, stringy pulp. I promise you it’ll be worth it! Try to separate the seeds from the pulp in two bowls. Don’t worry about being precise at this stage.
IMG_7337
OK. Now you can try to remove the majority of the pulp from the seeds in their bowl. Don’t try to be perfect. Having some of the orange slime left on your seeds will just add more flavor to them when they roast!
IMG_7336
Melt 1 tablespoon of butter and pour into bowl of seeds. Yum.
IMG_7338
Add 2 pinches of salt and stir around.
IMG_7339
Spread them out in a single layer (as best you can because you’ll always get a few rebels that refuse to let go of their cluster). Sprinkle generously, very generously, with Lowry’s Seasoned Salt. Put in a 300 degree oven for 1 hour and 10 minutes.
IMG_7356
Deliciousness!

Leave a Reply

Fill in your details below or click an icon to log in:

WordPress.com Logo

You are commenting using your WordPress.com account. Log Out /  Change )

Facebook photo

You are commenting using your Facebook account. Log Out /  Change )

Connecting to %s